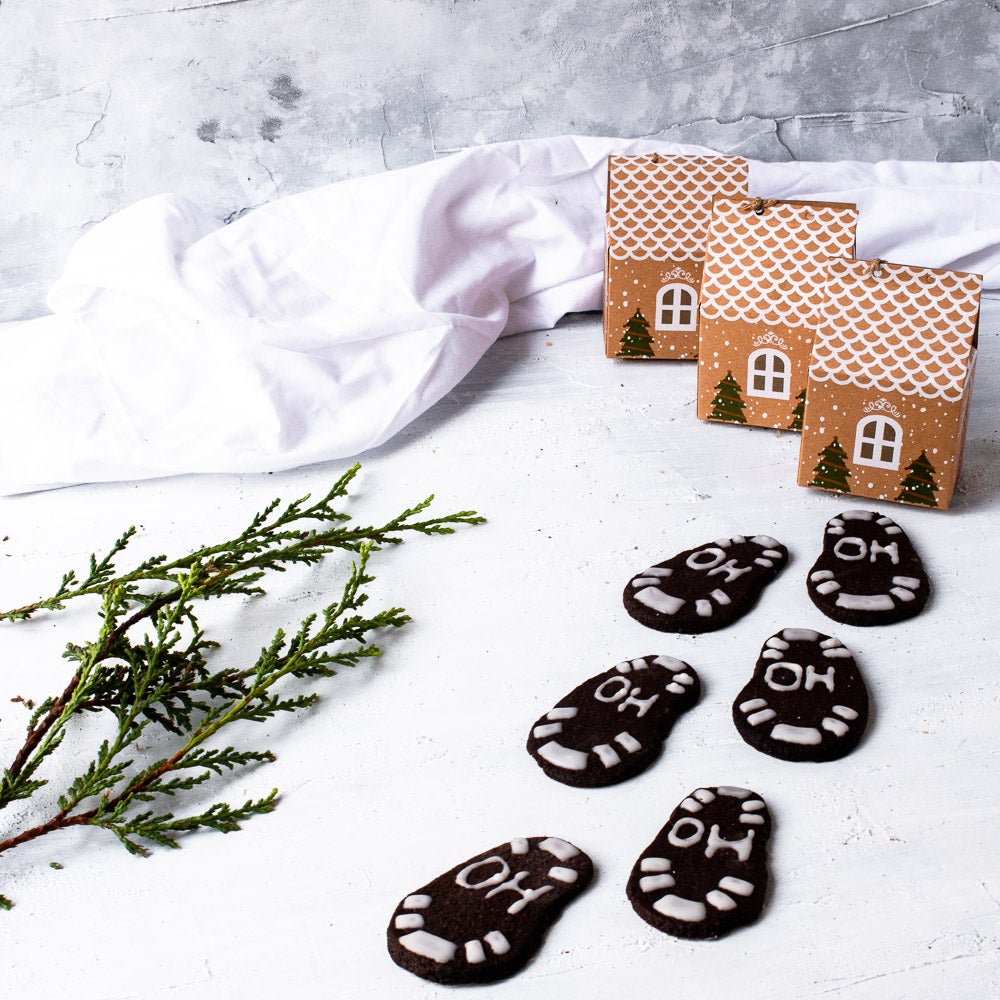
About the bake
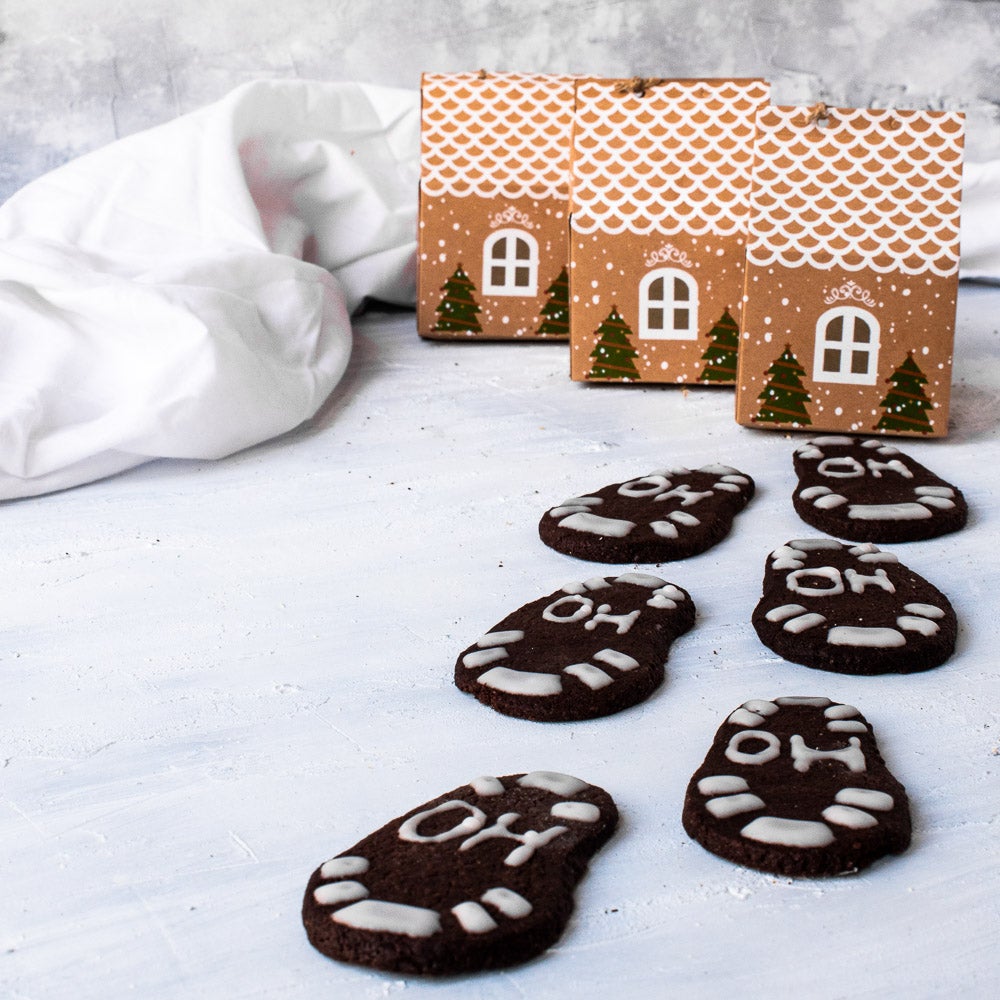
These footprint biscuits (or cookies depending which side of the pond you're from) are made from a scumptious chocolatey biscuit dough and decorated with a simple runny icing, they're a doddle to make. The kids will love help making (and scoffing) these ahead of Christmas. The best bit? They only take 10 minutes to bake giving you time to put the kettle on to make yourself a cuppa for that 'ahhhhh' moment before the kids come back to decorate them. If you want to bake these ahead, you can freeze undecorated biscuits in an airtight container for up to 2 weeks. Just let them defrost at room temperature before icing them.
Method
Step 1:
Combine the flour, cocoa powder and baking powder.
Step 2:
In a separate bowl, using the electric mixer cream the room temperature butter and sugar until light and creamy.
Step 3:
Add the egg and beat until combined.
Step 4:
Gradually fold in the flour mixture and gently mix until the dough is formed. The dough will be sticky but will become easier to handle after the refrigeration
Step 5:
Divide the dough into 2 equal parts and shape each part into a disk. Wrap each disk with cling film and chill for 3 hours.
Step 6:
Preheat the oven to 190°C (170°C fan) and line a baking pan with parchment paper.
Step 7:
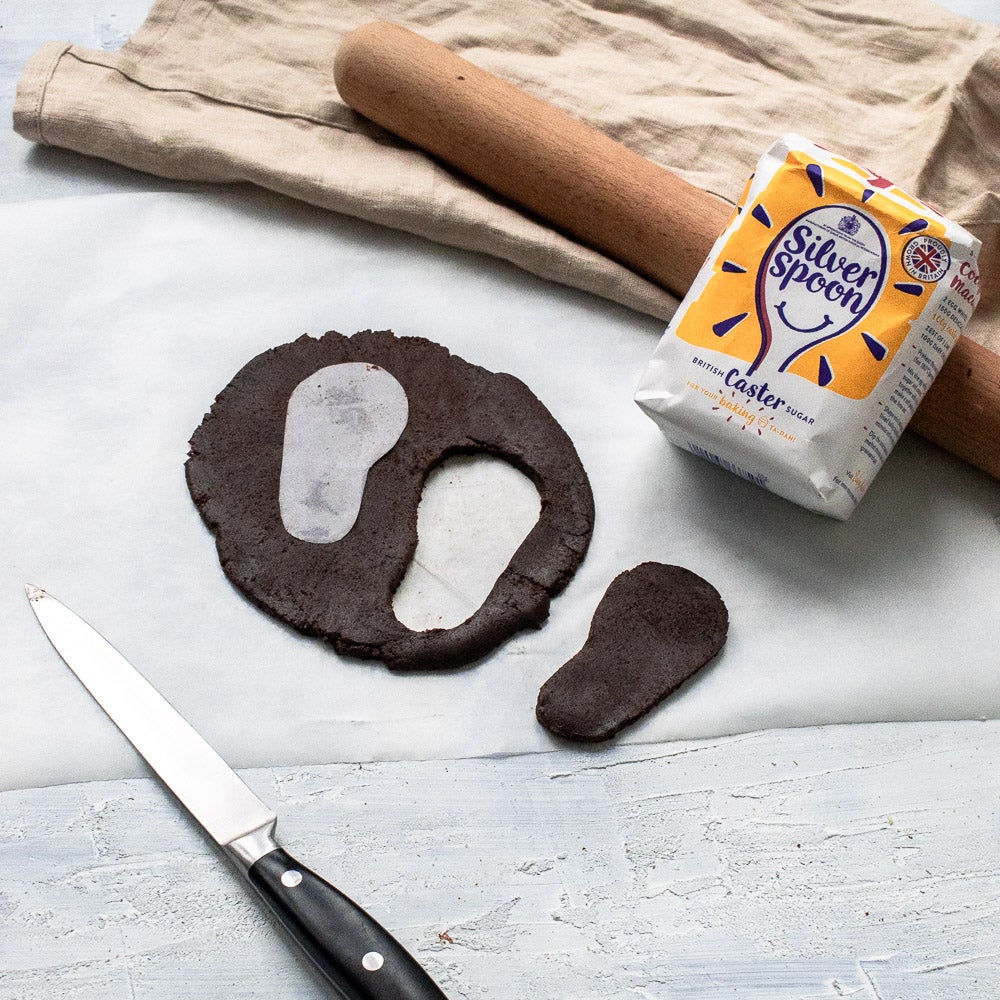
Dust a clean surface with flour and roll the dough to a thickness of approximately 5 mm. Lightly flour the dough before rolling if sticky.
Step 8:
Using a knife or a foot-shaped cookie cutter, cut out the shoe shapes and place on the baking pan lined with parchment paper. Place the prepared pan with cookies into the freezer for 5 minutes. That will help cookies hold their shape during the baking.
Step 9:
Bake in a preheated oven for around 11 minutes for bigger cookies, or 9 minutes for smaller cookies.
Step 10:
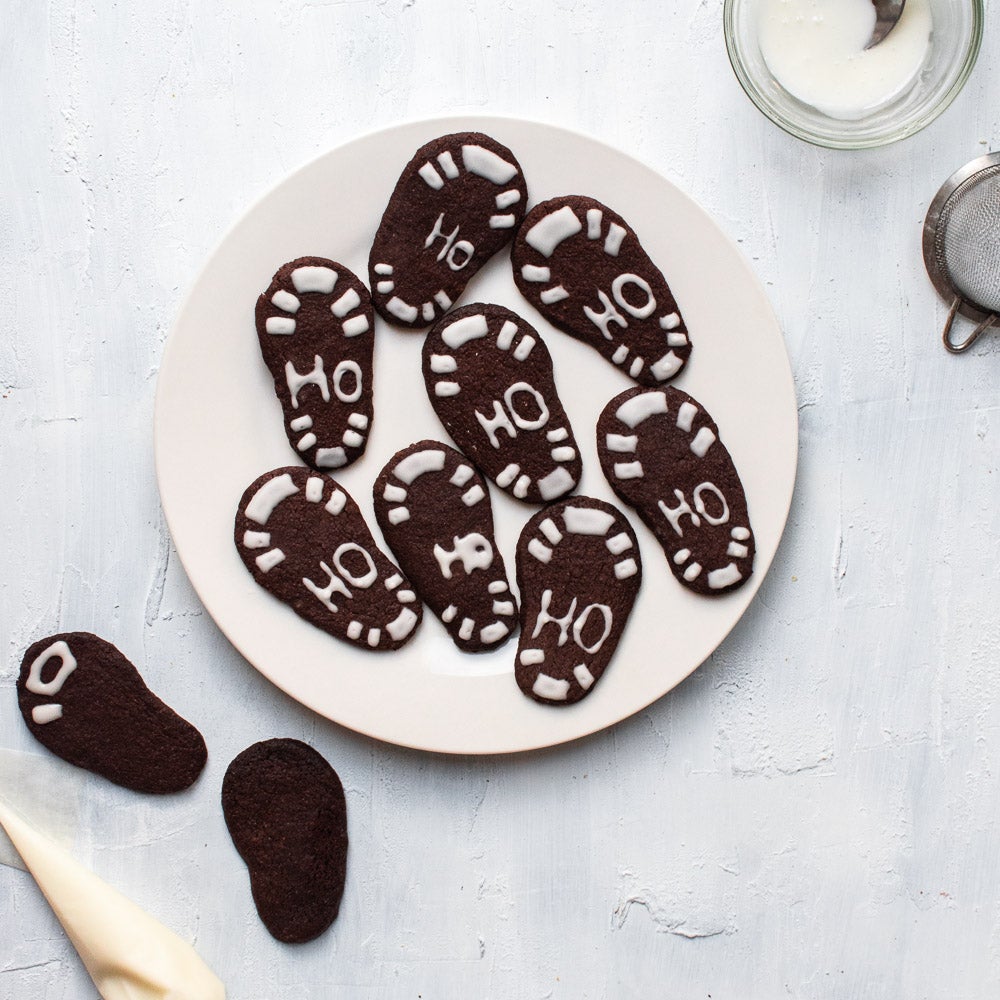
Let the cookies cool down completely before decorating.
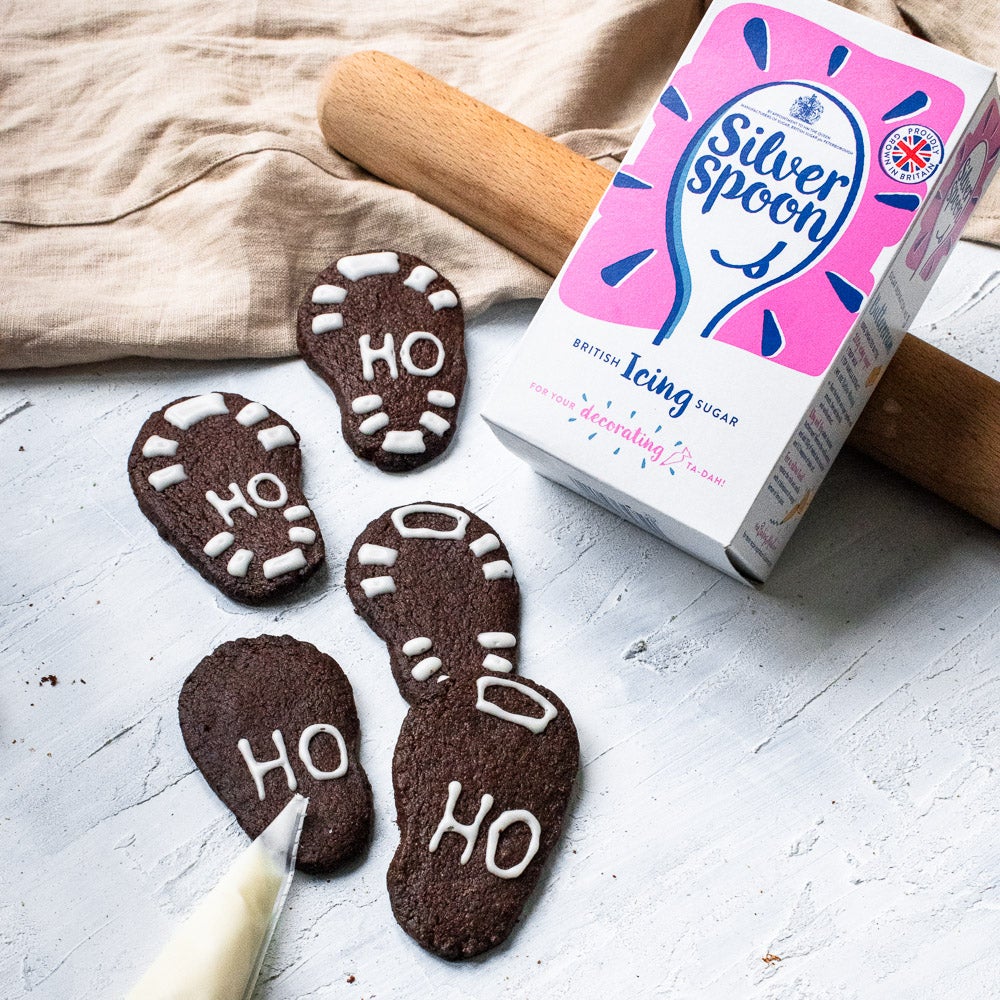
Step 11:
To make the icing, whisk the icing sugar and milk until combined. The mixture needs to be thick but still easy to pipe. If it’s too runny, add more sugar, and if it’s too thick, add a little bit of milk.
Step 12:
Fill the piping or freezing bag with prepared icing and cut a tiny hole on the bottom corner. The size of the hole needs to be just enough to create a thin thread of icing when the bag is squeezed.
Step 13:
Hold the bag and squeeze out the icing touching the part of the cookie you want to decorate. Now, constantly squeezing, slightly lift the bag and move it in the direction of the shape you want to draw, the icing will be falling naturally into desired place. When you reach the end point, stop squeezing and touch the finish point.
Allow the icing to harden before enjoying (few minutes will be enough).Storage
Store in the airtight container or a Ziploc bag at room temperature.
Ingredients
For the Biscuits
- 225g Unsalted butter (softened)
- 200g Silver Spoon Caster Sugar
- 165g Allinson's plain white flour
- 1 Egg
- 45g Cocoa powder
- 0.75 tsp Baking powder
- Pinch Salt
For the Decoration
- 110g Silver Spoon Icing Sugar
- 1 tbsp Milk of choice
- 110g Silver Spoon Icing Sugar
Utensils
- Mixing bowl
- Hand mixer
- Piping bag or sandwich bag
Nutritional Information
per 20g- 108cal Energy
- 5.8g Fat
- 3.6g of which Saturates
- 13g Carbohydrates
- 9g of which Sugars
- 1g Protein
- 0.1g Salt
Recipe Reviews
Cute, delicious and easy to make!
Ingredients
For the Biscuits
- 225g Unsalted butter (softened)
- 200g Silver Spoon Caster Sugar
- 165g Allinson's plain white flour
- 1 Egg
- 45g Cocoa powder
- 0.75 tsp Baking powder
- Pinch Salt
For the Decoration
- 110g Silver Spoon Icing Sugar
- 1 tbsp Milk of choice
- 110g Silver Spoon Icing Sugar
Utensils
- Mixing bowl
- Hand mixer
- Piping bag or sandwich bag
Nutritional Information
per 20g- 108cal Energy
- 5.8g Fat
- 3.6g of which Saturates
- 13g Carbohydrates
- 9g of which Sugars
- 1g Protein
- 0.1g Salt