Ultimate Easter Chocolate Cake
31 Reviews


About the bake
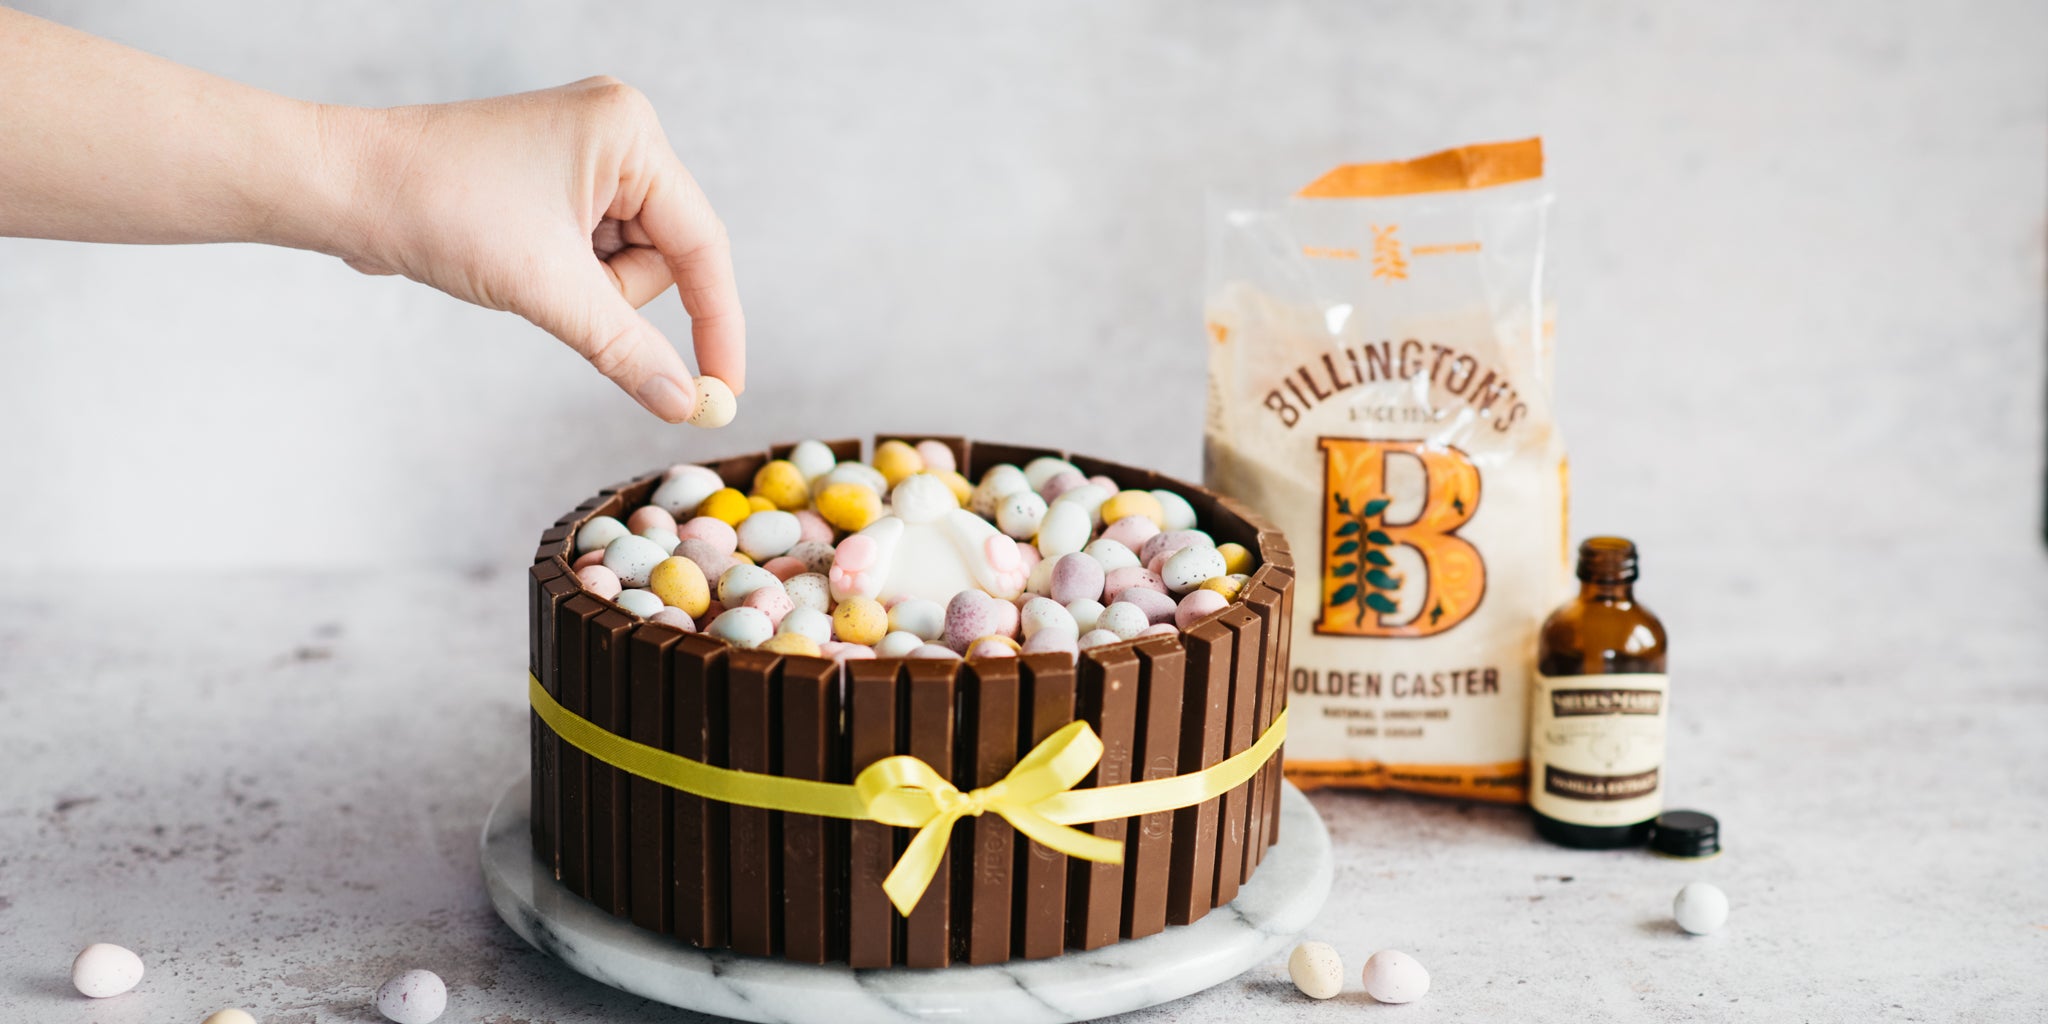
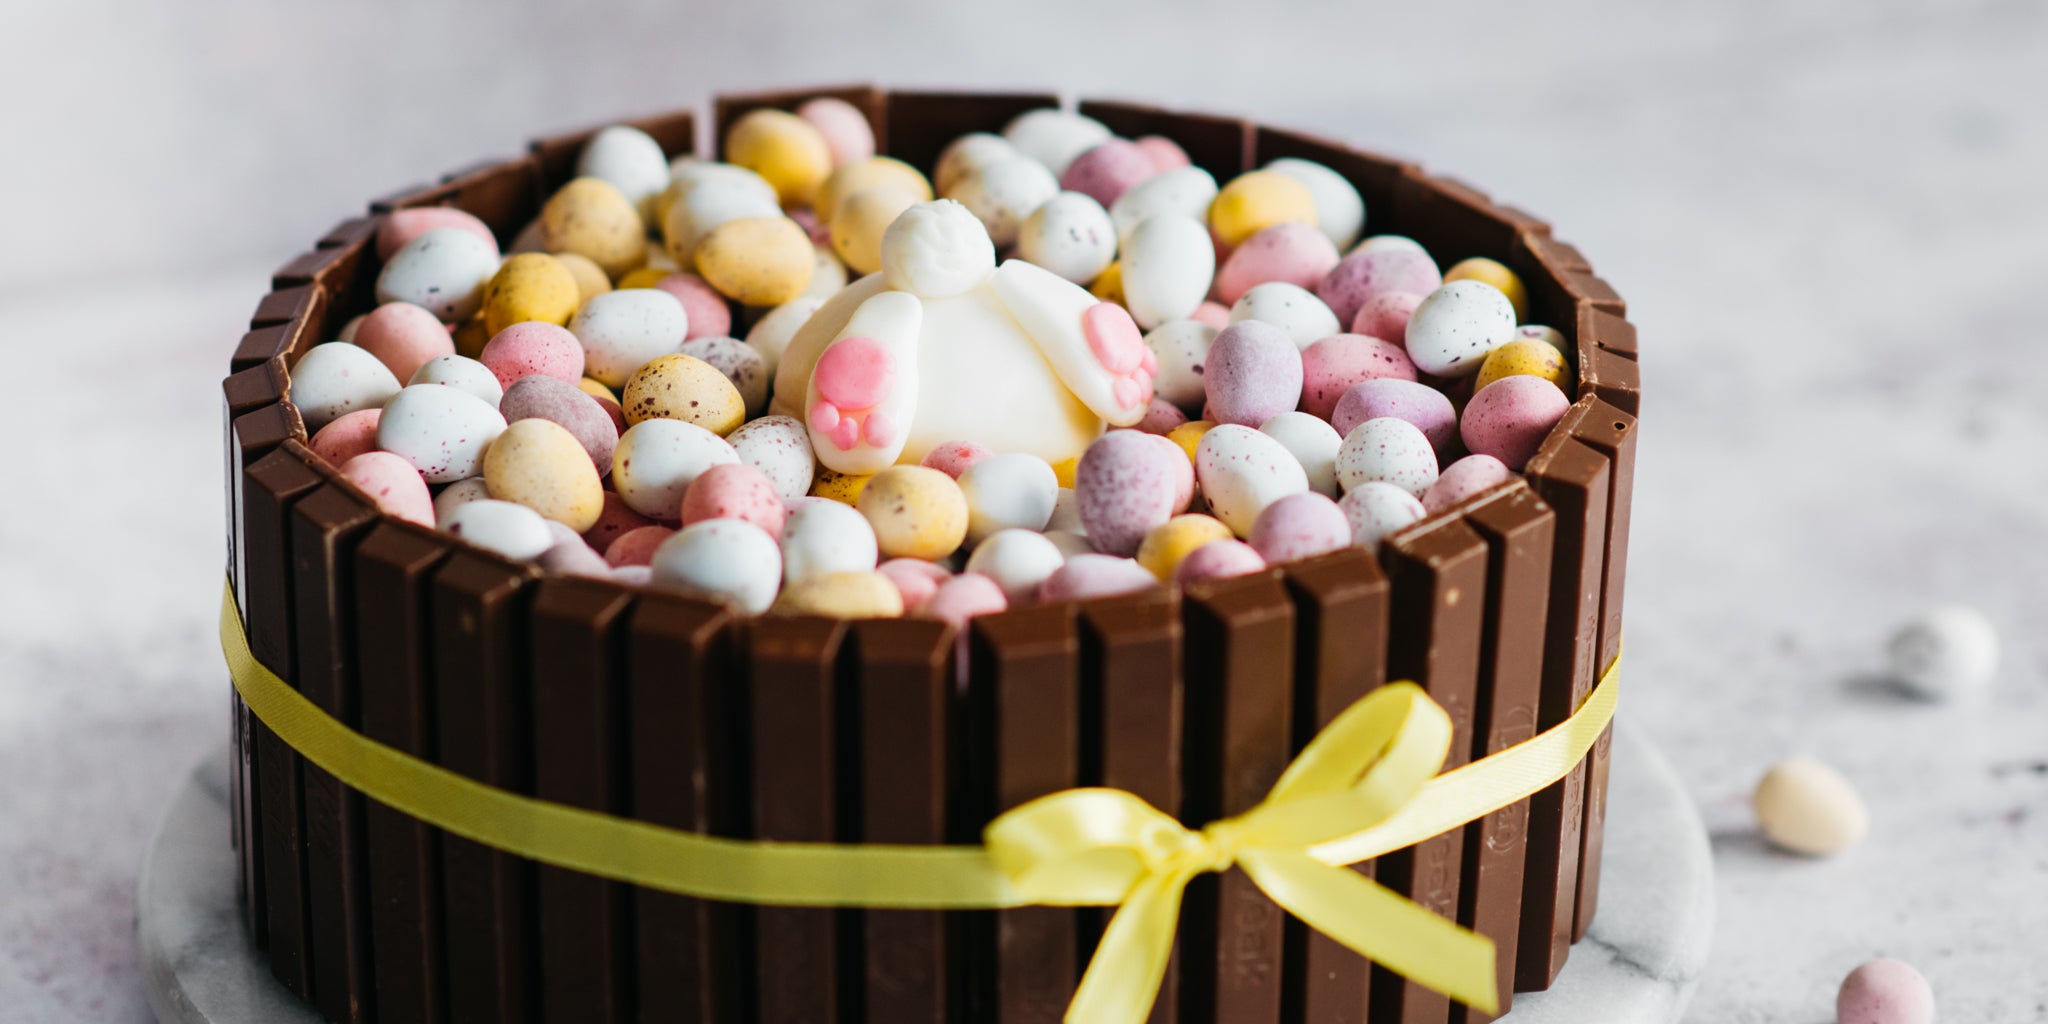
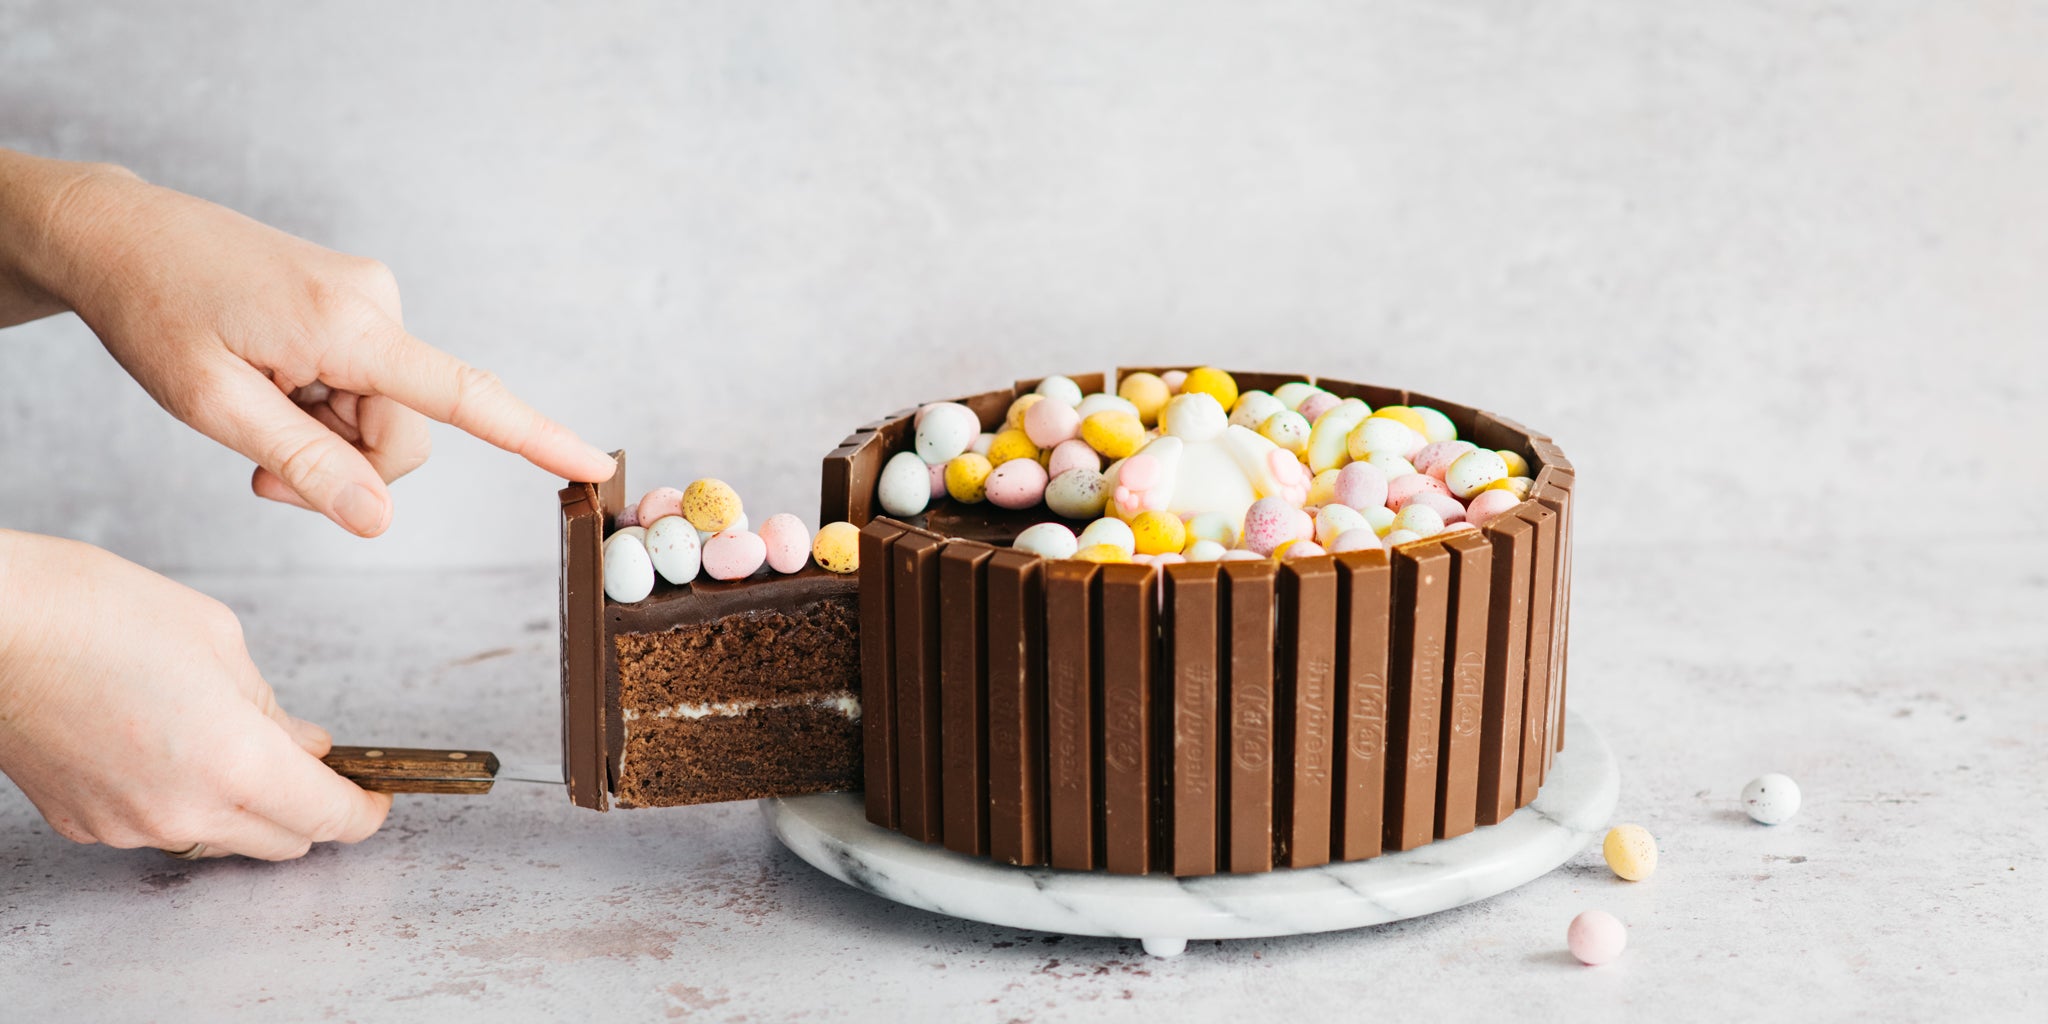
There really is no such thing as too much chocolate at Easter and this cake celebrates EVERYTHING we love about the chocolate season. Soft chocolatey sponge, silky white choc ganache filling, velvety milk chocolate ganache topping, a trimming of kitkats and an abundance of mini eggs for decorations. There is a reason why the Easter bunny has face planted this 5* cake.
Plan ahead and bake this cake in advance. The sponge freezes like a dream for up to 3 months un-iced. Once baked consume within 3 days (as if it will still be around after 24 hours)
If you're looking for more Easter recipes, try out our hot cross buns or carrot cake.
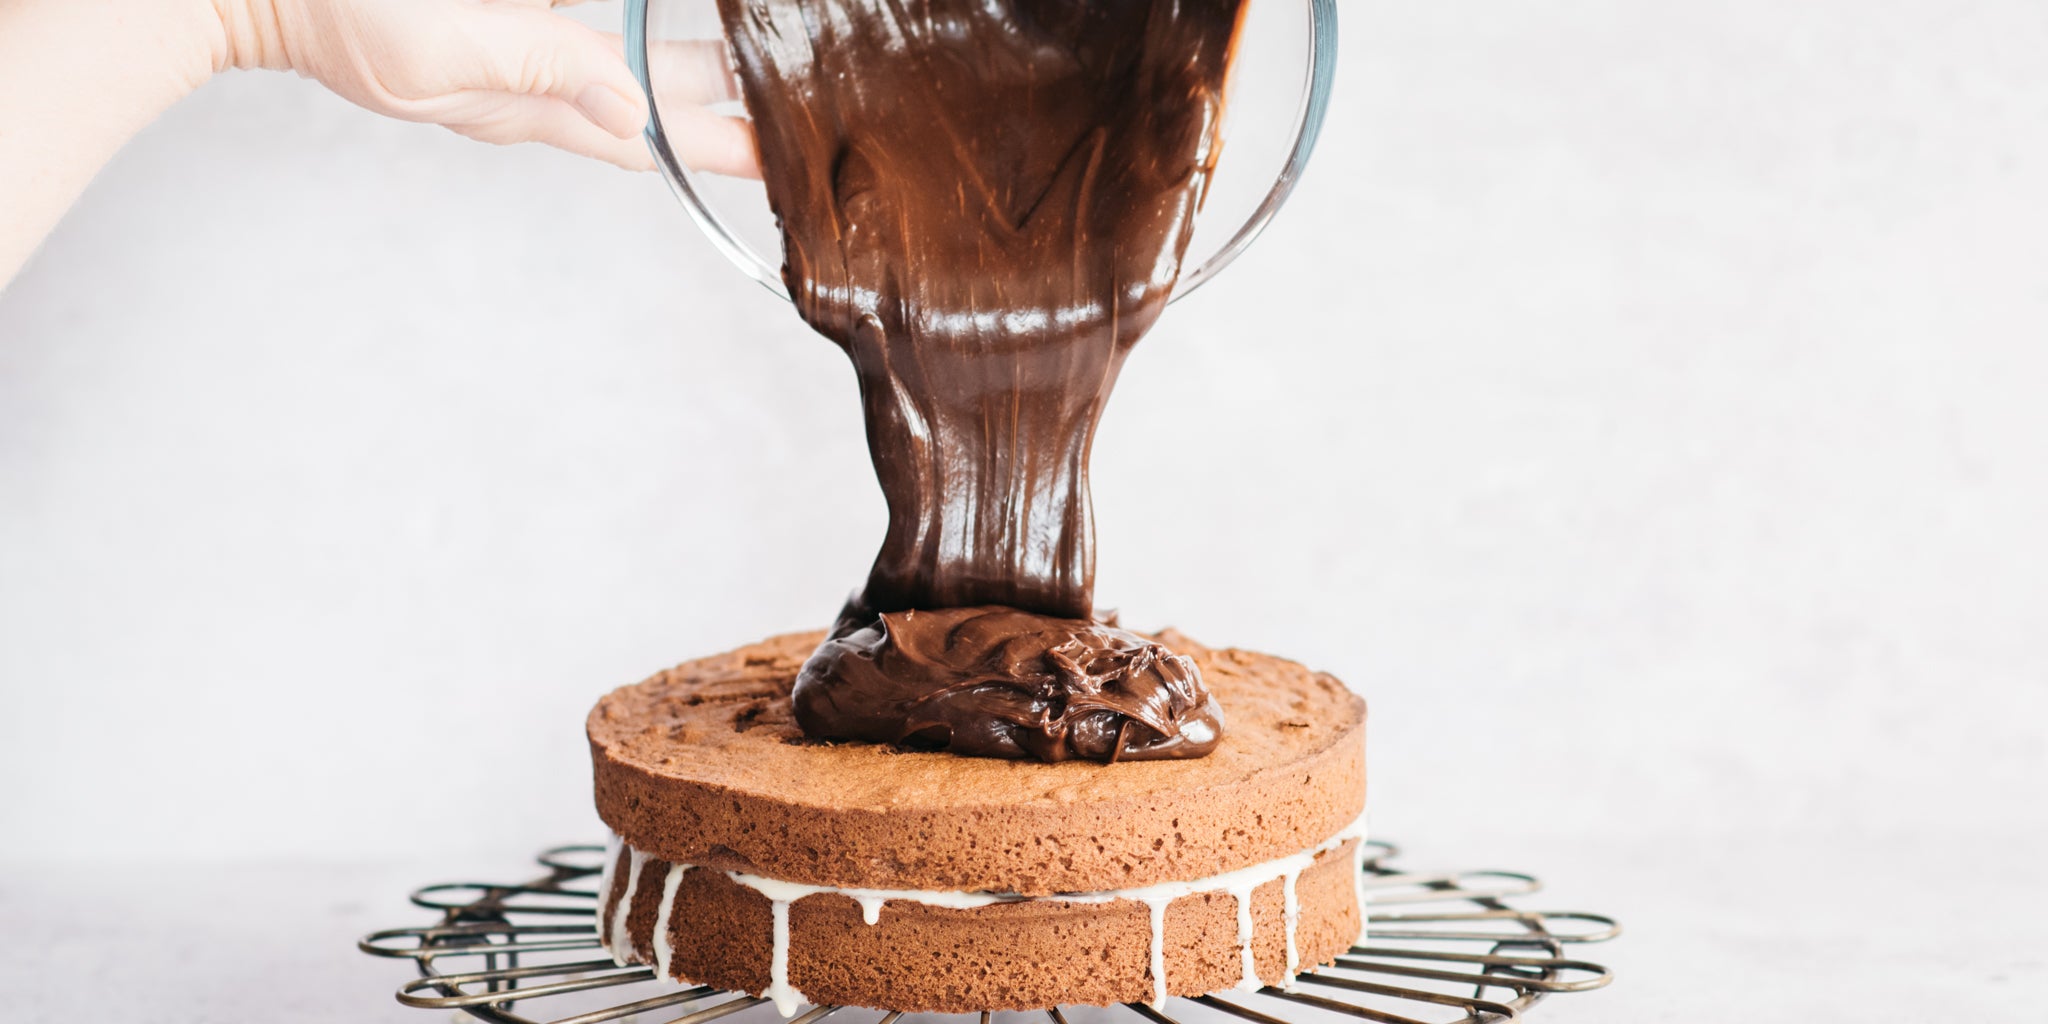
Ingredients
For the cake
- 175gAllinson's Self Raising Flour
- 50gCocoa powder
- 225gBillington's Unrefined Golden Caster Sugar
- 225gButter (unsalted) (softened)
- 1 tspNielsen-Massey Vanilla Extract
- 3Egg(s) (free range) (medium)
- 2 tbspMilk (whole)
For the filling
- 60gWhite chocolate
- 60mlDouble cream
For the topping
- 200gDark chocolate
- 100gMilk chocolate
- 225mlDouble cream
For the decoration
- 18Chocolate finger biscuits (kitkats)
- Mini chocolate eggs (x3 90g packs)
- White sugar paste icing
- Pink sugar paste icing
Method
Step 1
Preheat your oven to 180°C (160°C, gas mark 4) and grease and line an 18cm (7”) deep cake tin. Alternatively, rather than baking one cake and slicing to create two layers, you could use two equally sized cakes tins – just make sure to add the same amount of batter to both tins if you do.
Step 2
Sieve the flour and cocoa together into a bowl.
Step 3
In a separate bowl, beat the butter and the sugar together until light and fluffy. Add one egg at a time to the creamed butter and sugar with a little flour/cocoa mix and milk then beat in between each addition. Fold in the remainder of the flour and cocoa together with the vanilla extract – being careful not to “knock” out the air which has been beaten into the mixture.
Step 4
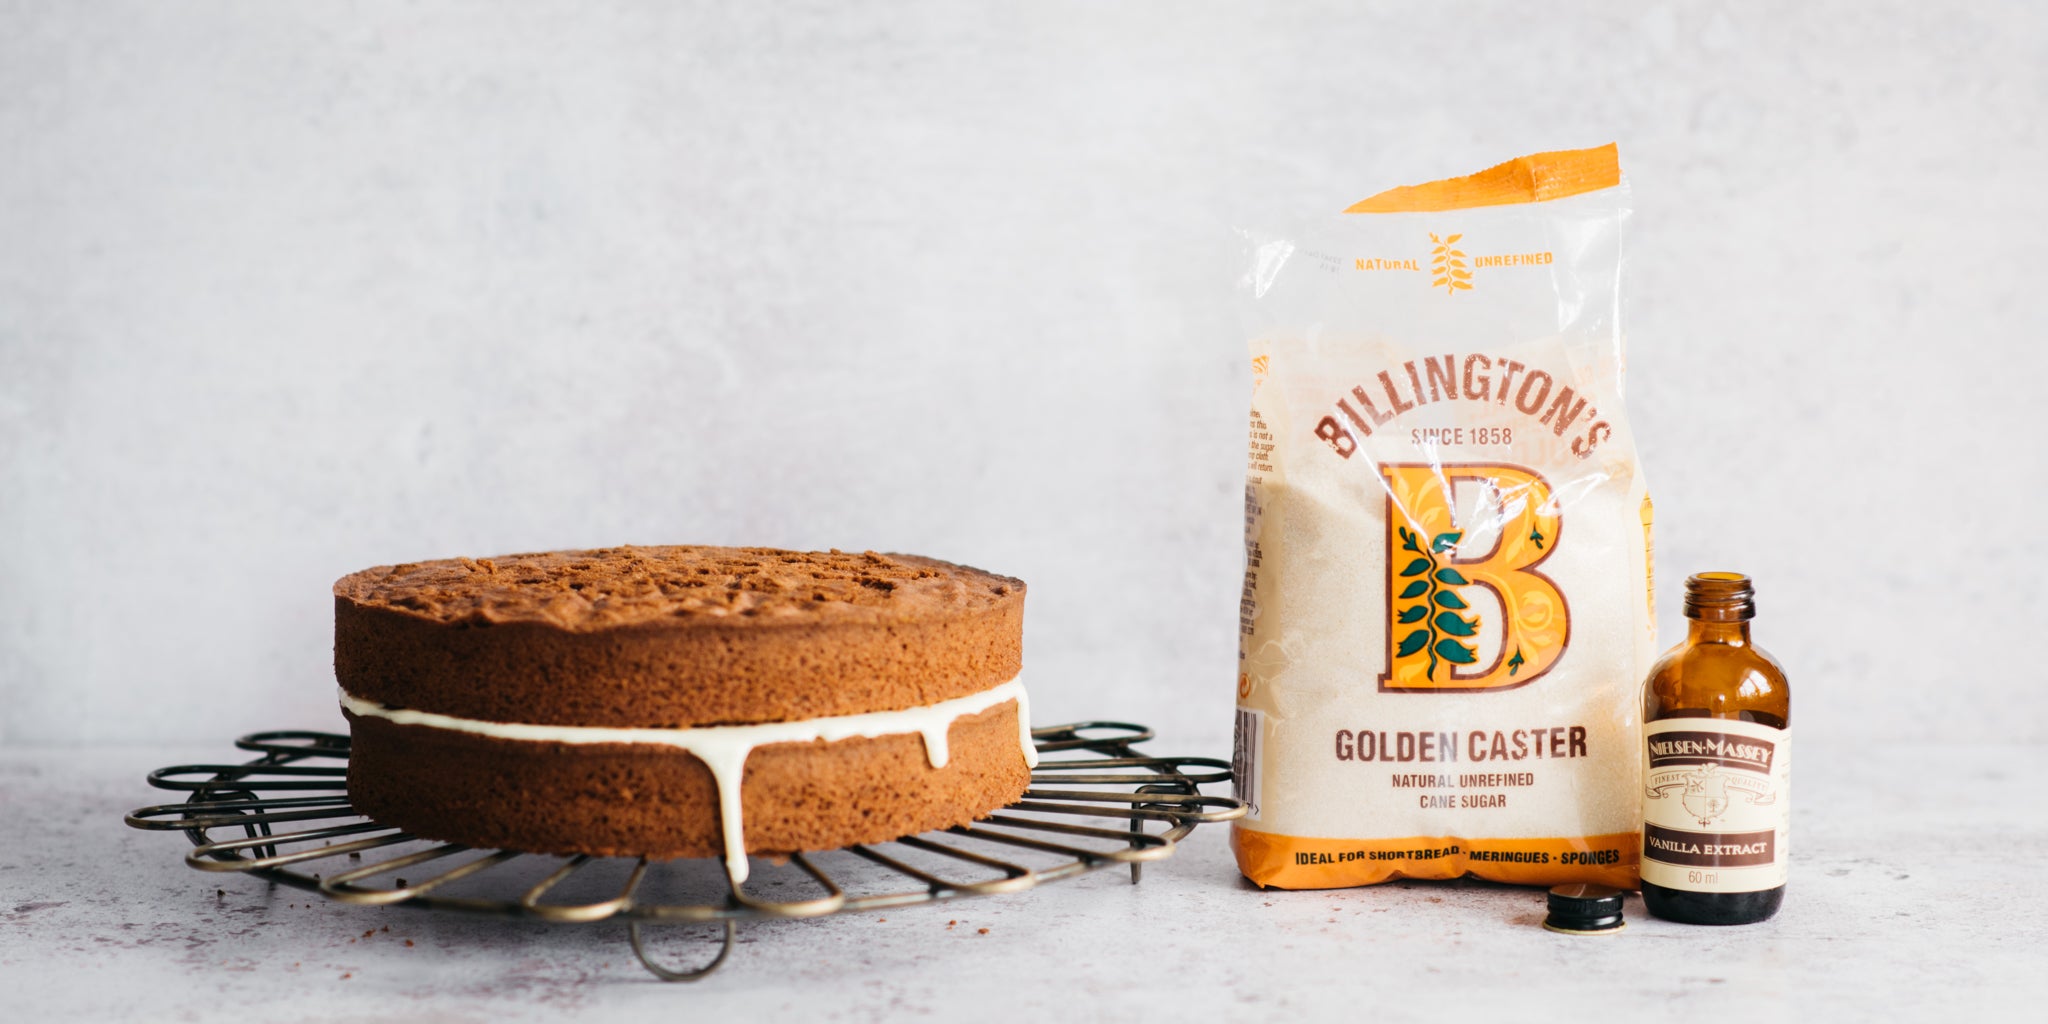
Pour the mixture into the lined cake tin and bake in the oven for 30-40 minutes, keeping an eye and not opening the oven whilst baking. Leave the cake to cool before turning out on a rack to completely cool.
Step 5
Whilst the cake cools, prepare the filling. Melt the white chocolate and cream together in a bowl over a pan of hot water, stirring occasionally to combine. Be careful not to let the chocolate overheat as it can turn grainy. Once melted, stir gently and leave the cool and thicken. Cut the cake into two even layers, then spread the filling onto one half of the cake.
Step 6
To make the topping, melt the dark and milk chocolate and cream together in a bowl over a pan of hot water, stirring occasionally to combine. Be careful not to let the chocolate overheat as it can turn grainy. Once melted, stir gently and leave the cool and thicken slightly before spreading it onto the cake, covering it completely. Use a hot pallet knife to smooth off the surface.
Step 7
Whilst the icing is still wet, stick the kitkat biscuits around the outer side of the cake and fill the top with mini eggs.
Step 8
To make the bunny, roll some white sugar paste icing into a ball and then use a knife to slice in half. This will form the bunnies bottom. Roll a smaller ball of white sugar paste icing for the tail and using scissors snip to give the effect of fur.
Step 9
For the feet, roll out two evenly sized sausage shaped rolls of white sugar paste icing and flatten to make them look like feet. Roll out tiny balls of pink sugar paste icing for the balls of the feet and flatten. Secure these on to feet with water.
Step 10
Place the bunny in the centre of the cake, it will stick to the ganache and hold in place.

