Classic Chocolate Cake Recipe
14 Reviews


About this Classic Chocolate Cake
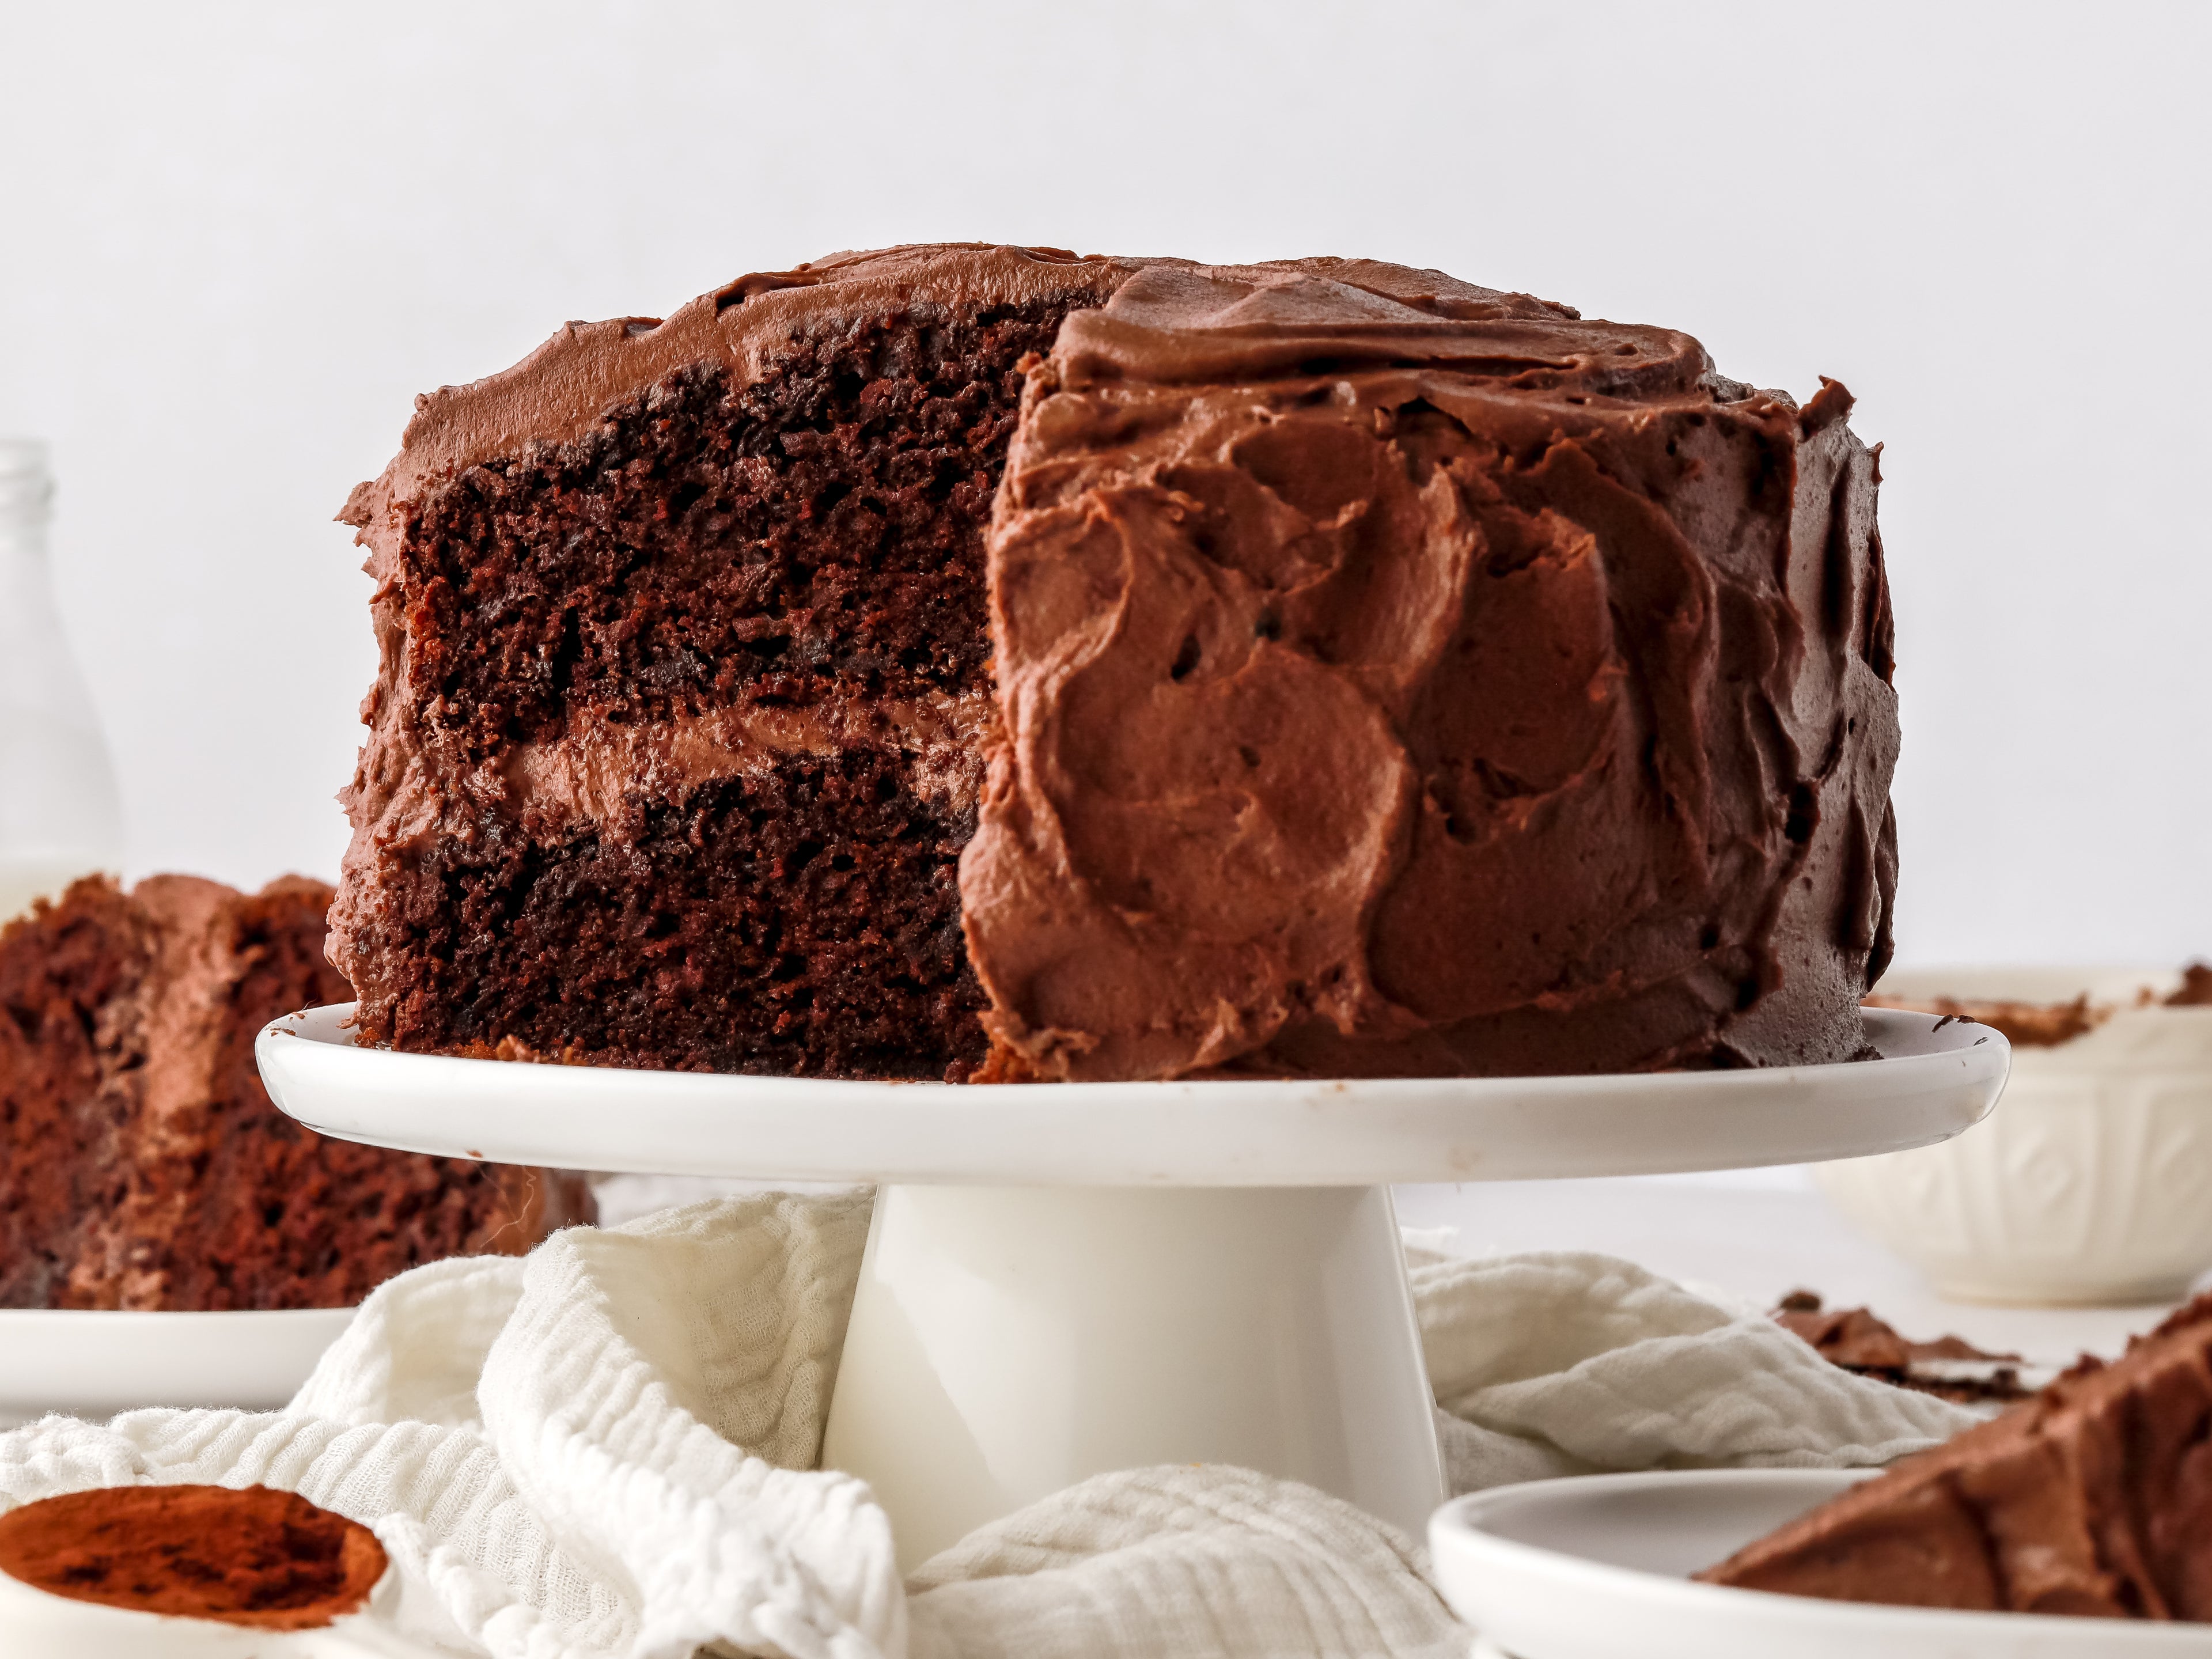
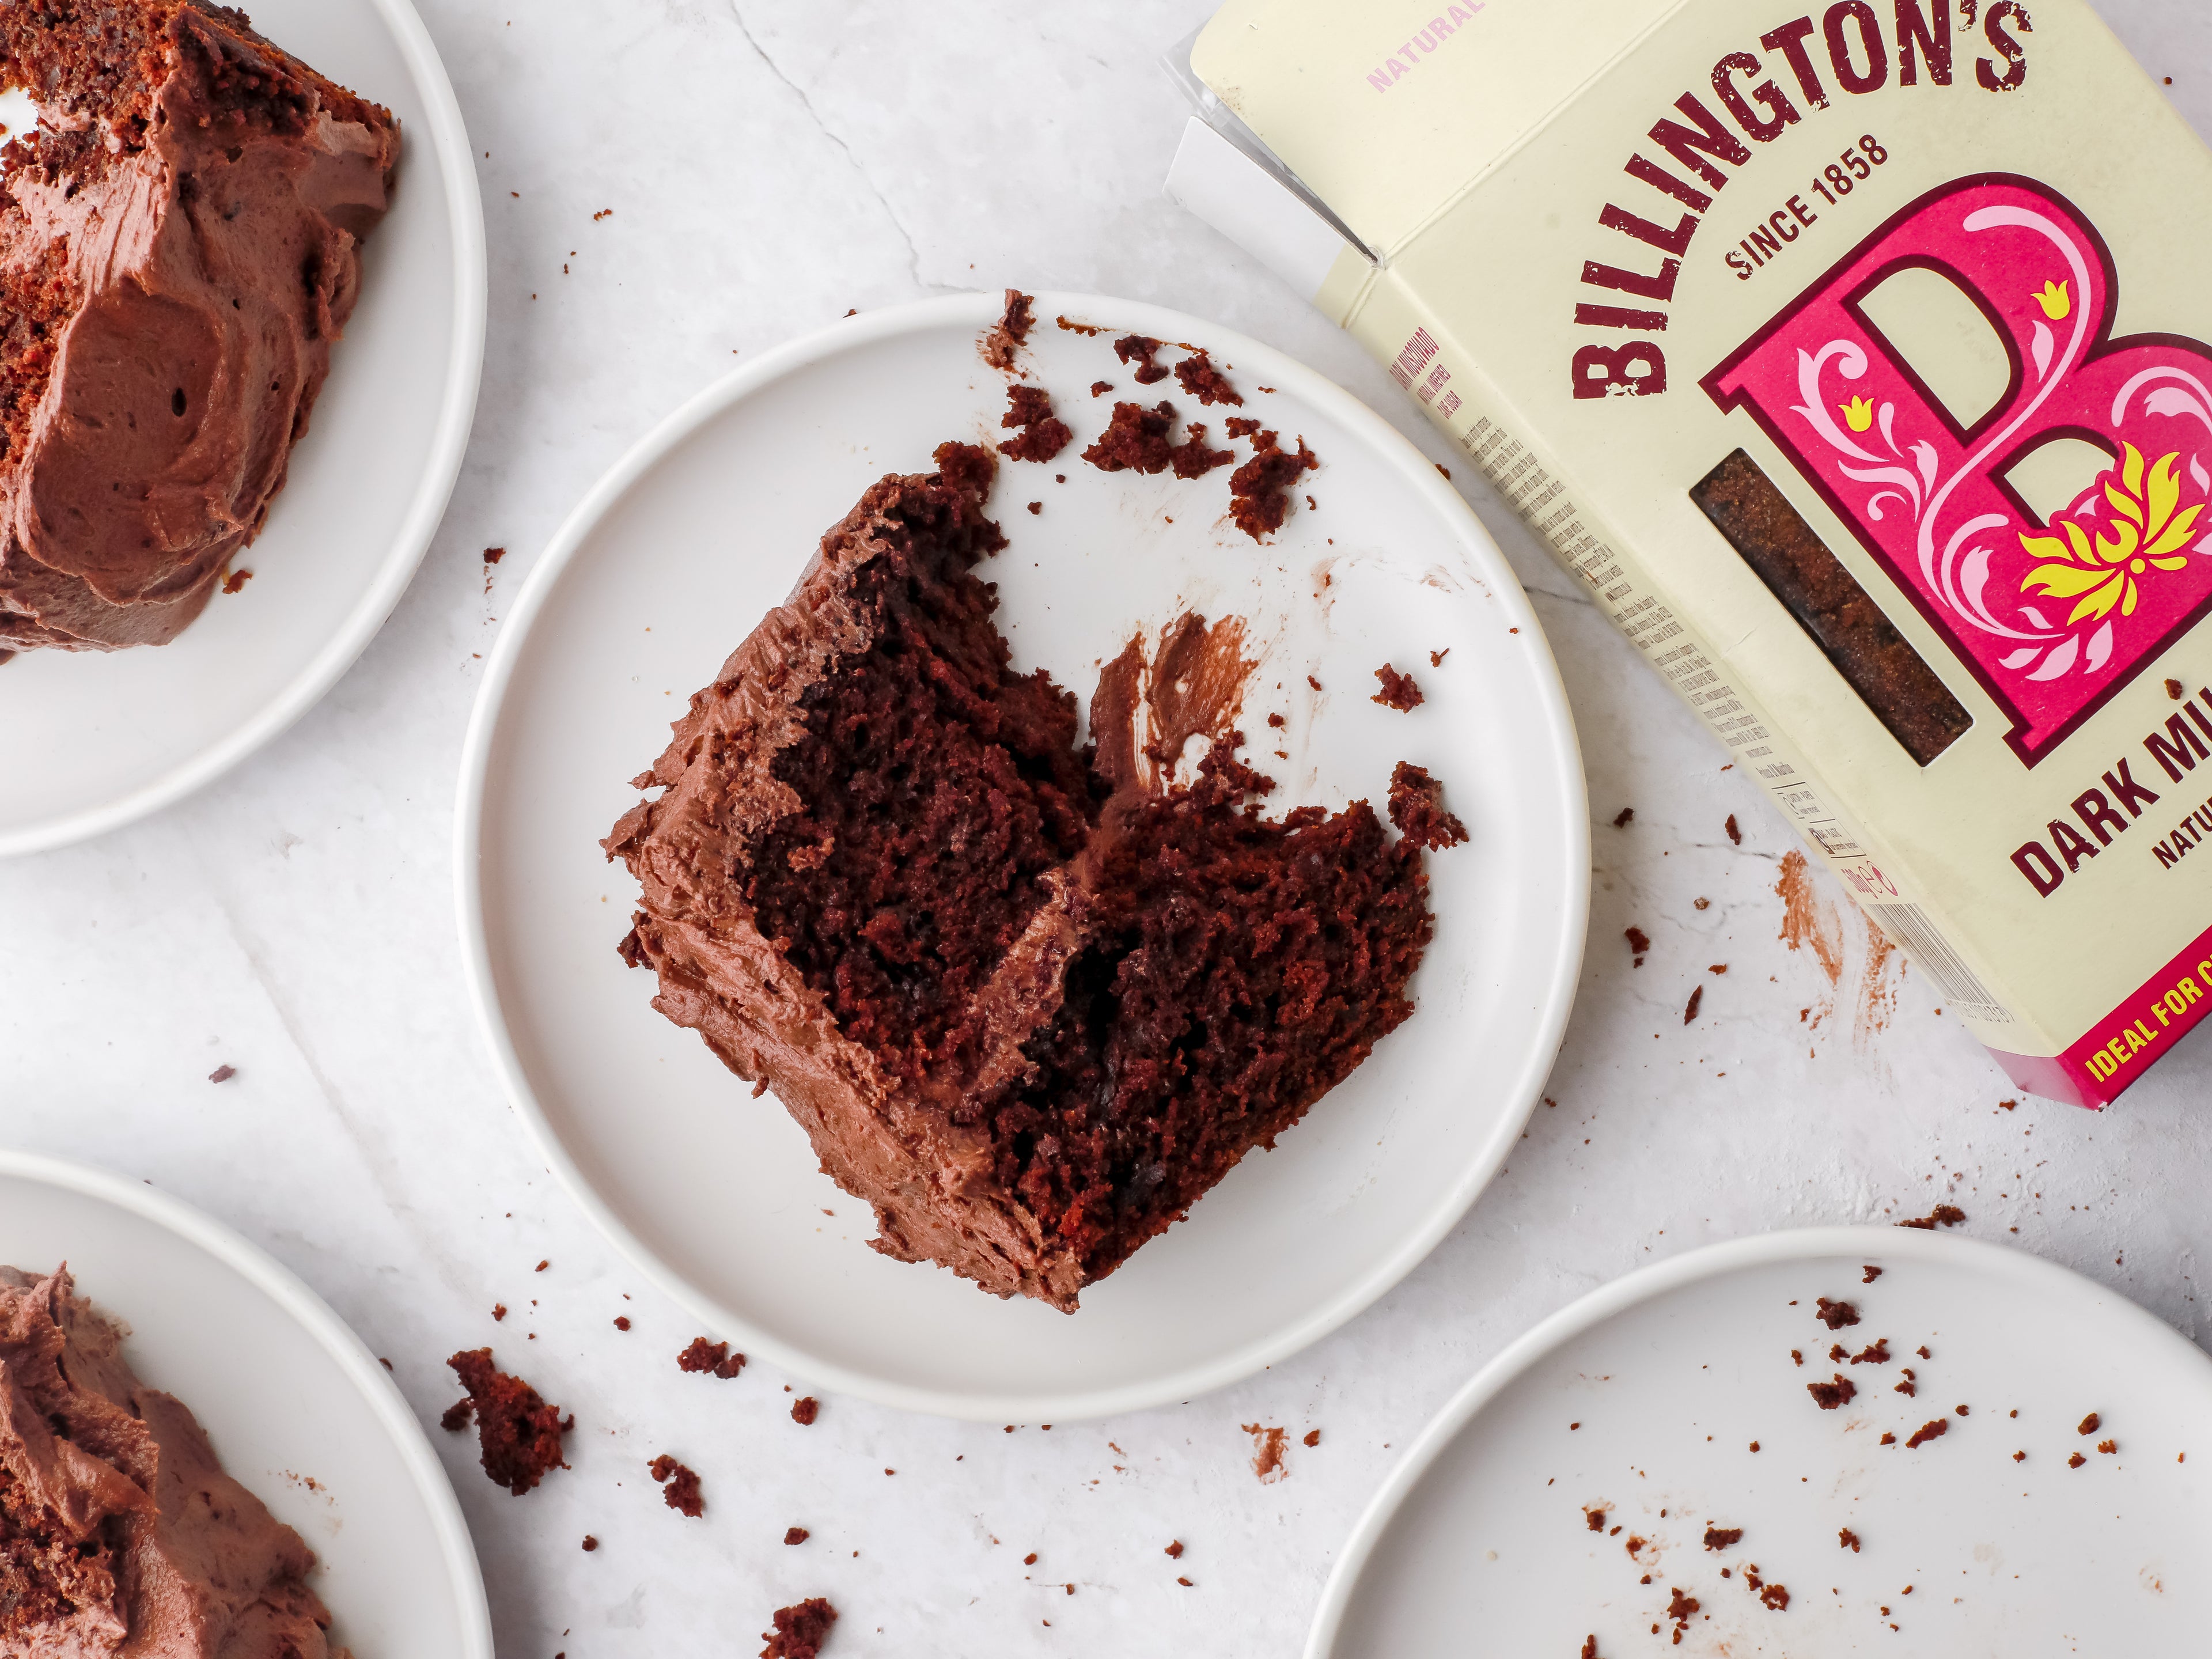
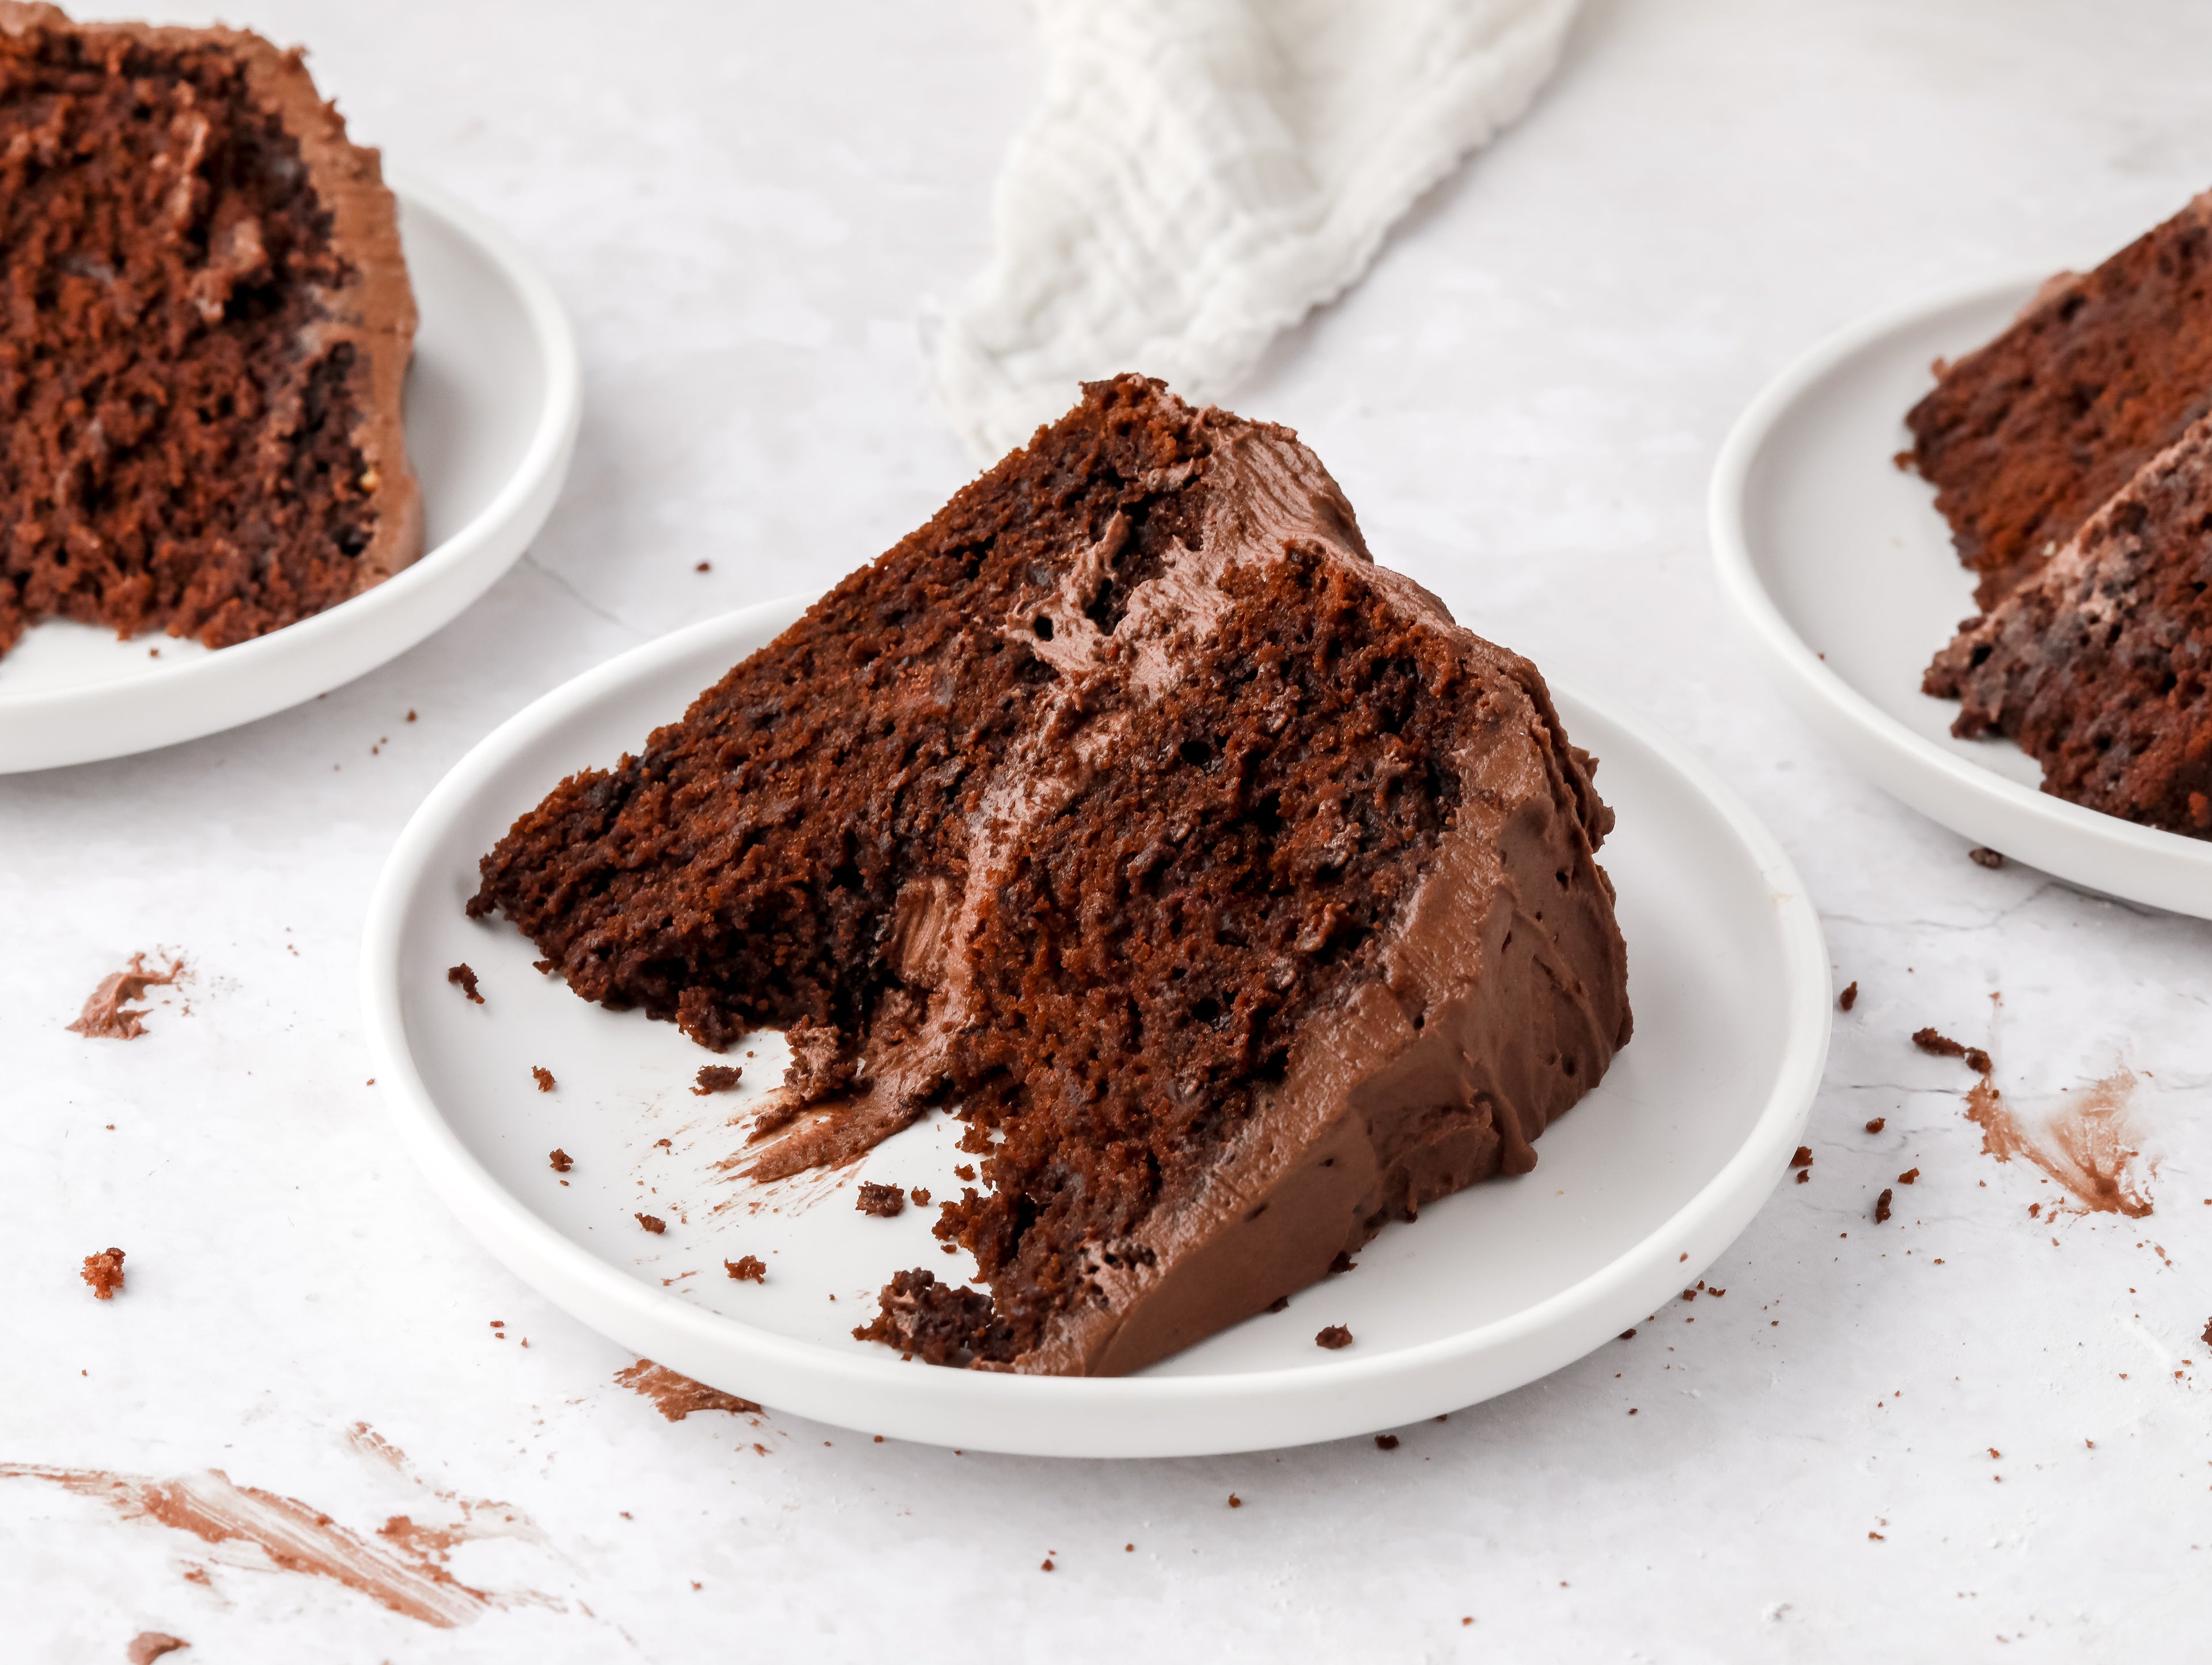
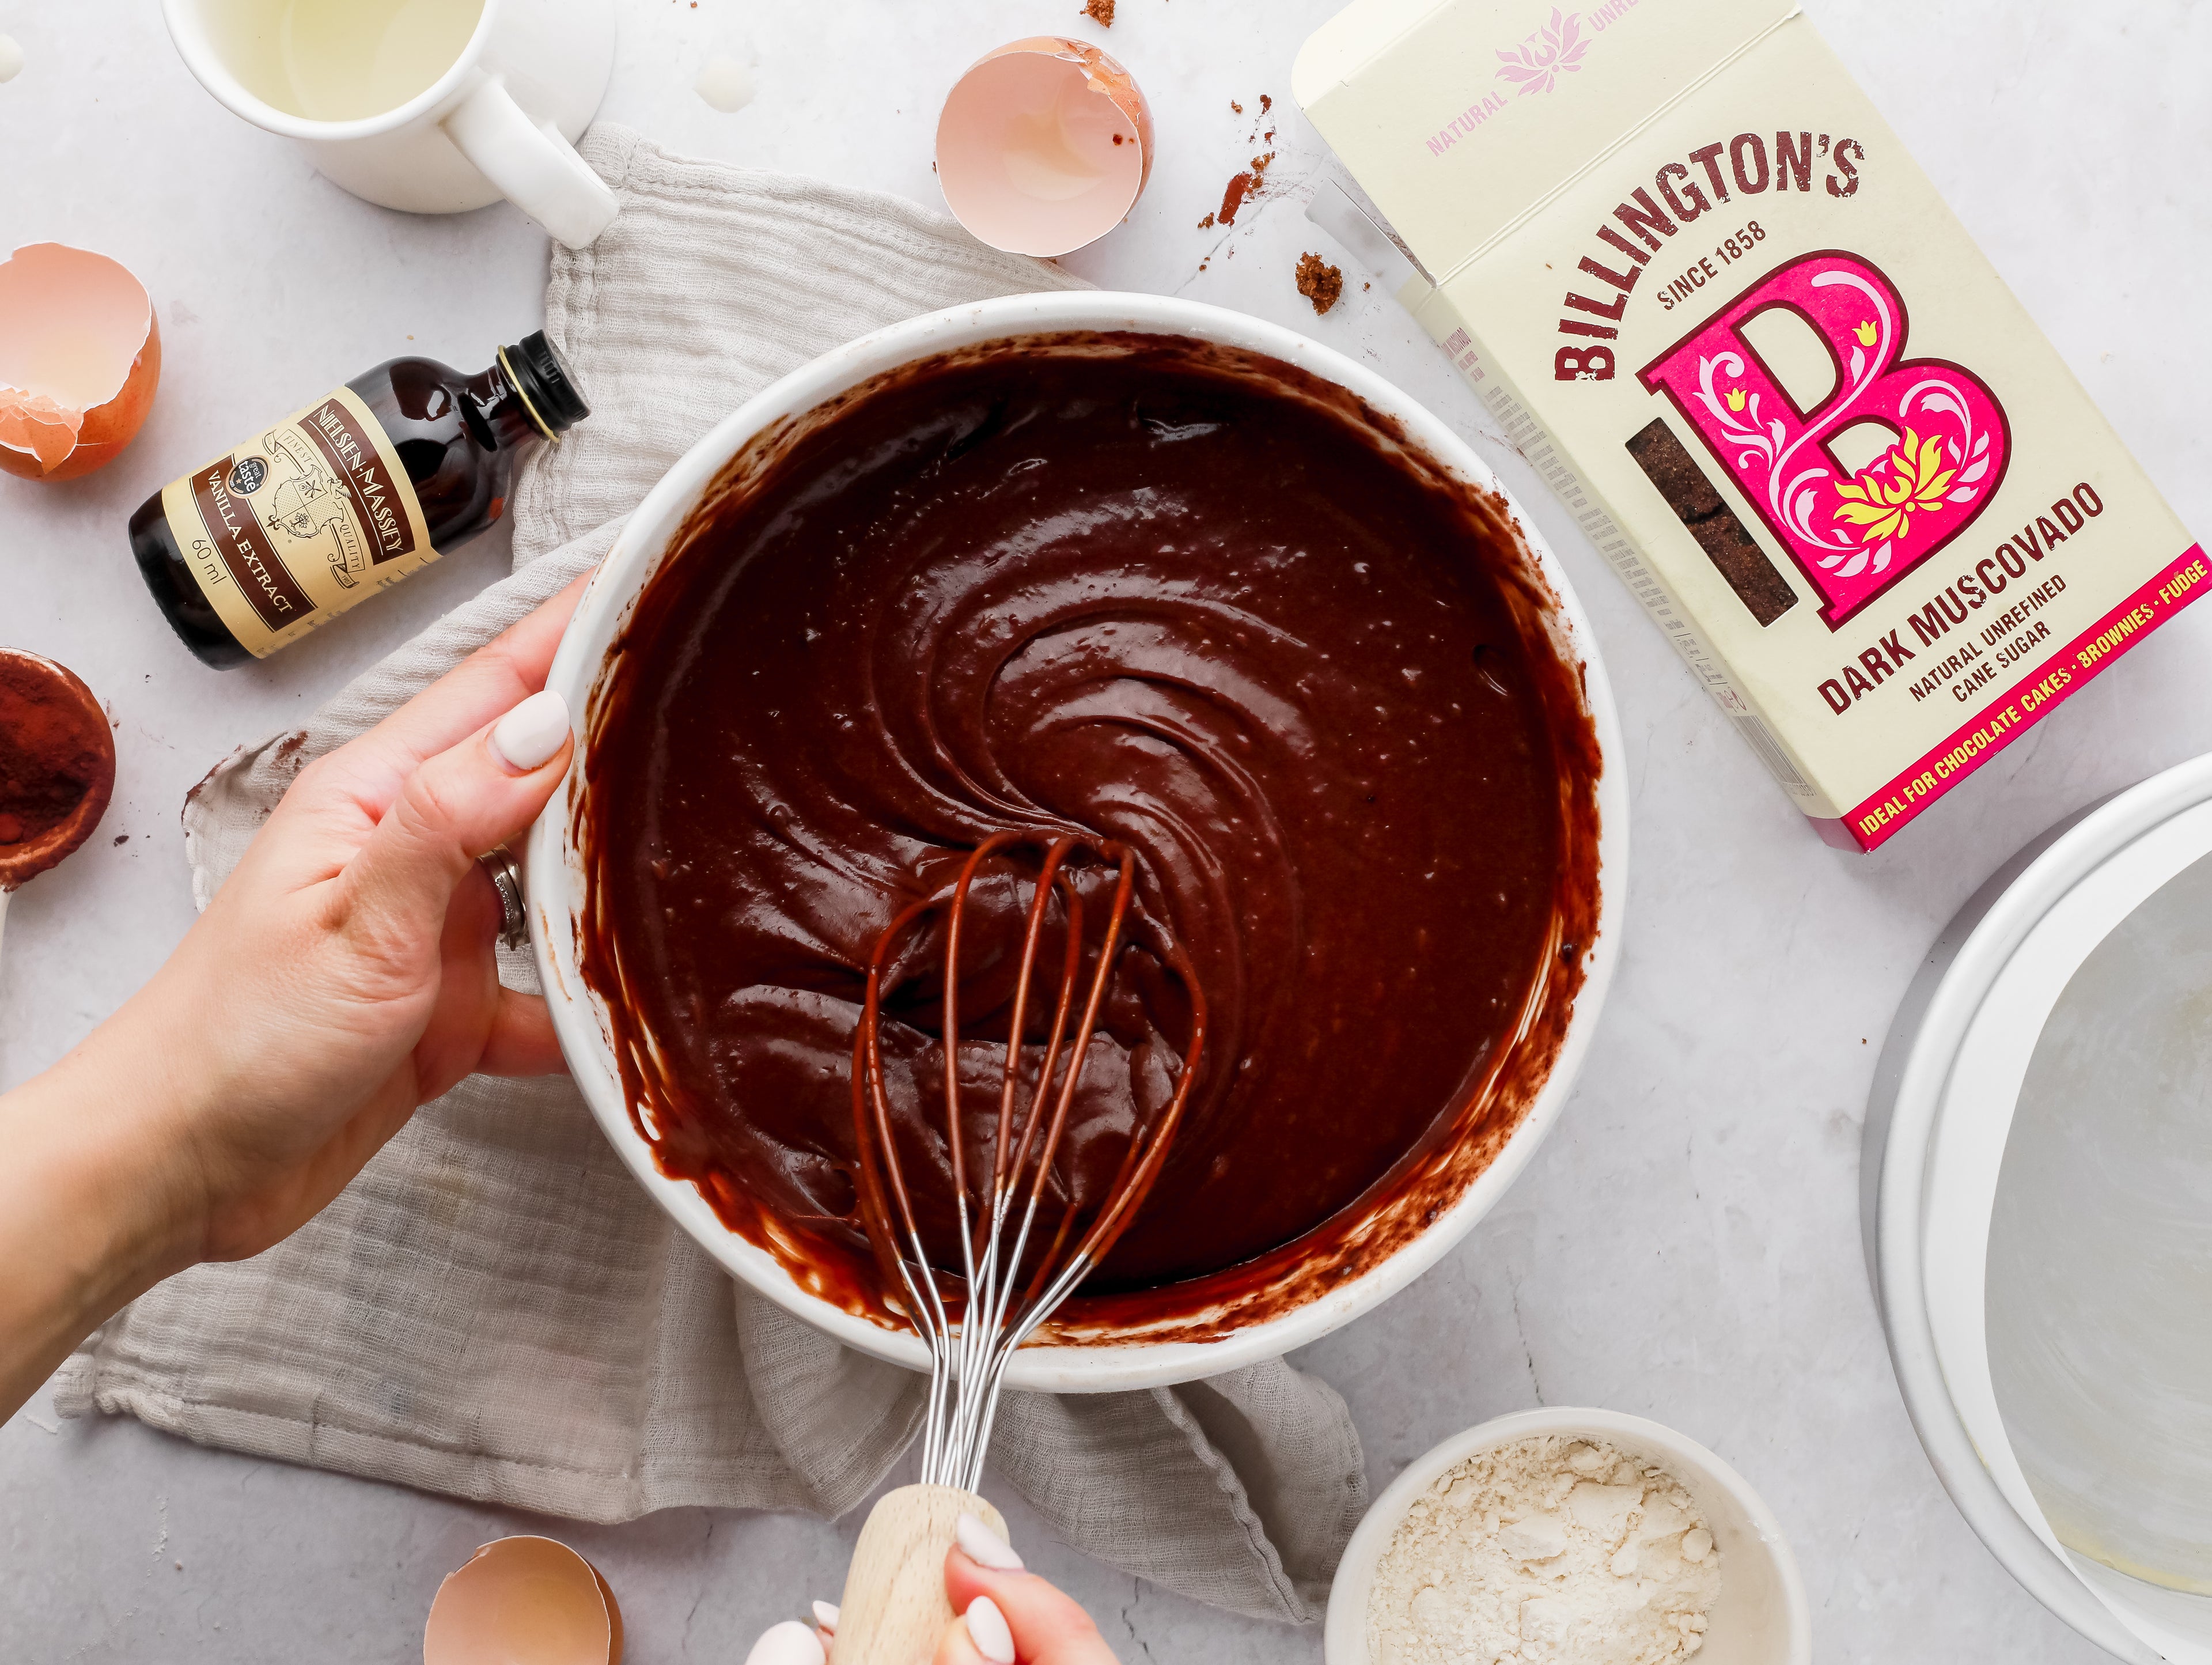
One taste of this decadent chocolate cake and you're sure to have found a firm favourite. Dark and rich in appearance, and even richer in taste with the delicious caramel undertones that using Billington's sugar brings to chocolate bakes. Made in 8 simple steps, this easy chocolate cake is a classic recipe to enjoy with all the family - after all, who doesn't love a generous helping of chocolate cake?
Substitutions and Variations
Mini Chocolate Cake
Make it mini? - To make smaller versions follow these instructions.
- Bake the cake in a 30x20cm tin for 45-50 minutes at 160°C fan.
- Use a 8cm round cutter to stamp out the cakes (this will make 6-8 mini cakes in total)
- Cut each mini cake horizontally to make two layers, then sandwich together with the buttercream and decorate with grated chocolate and a fresh raspberry
Top Tip: Use the leftover cake crumbs to make cake pops/cake truffles.
Mary Berry Chocolate Cupcakes
For rich, indulgent cupcakes that are easy to achieve in your own kitchen try our Mary Berry Chocolate Cupcakes recipe.
Ultimate Chocolate Brownie
Chocaholic's rejoice. If you love to bake chocolate cake, then you must to master our Ultimate Chocolate Brownie Recipe! They're gooey, fudgy and so easy to whip up any time!
Ingredients
For the cake
- 200gBillington's Dark Brown Soft Sugar
- 4Medium eggs
- 150gAllinson's Self Raising Flour
- 1 tspBaking Powder
- 50gCocoa Powder
- 200gButter (softened)
For the filling
- 25gCocoa Powder
- 3 tbspWater (boiling)
- 300gSilver Spoon Icing Sugar
- 175gButter (unsalted, softened)
Method
Step 1
Grease and line the base of two 20cm (8") deep cake tins. Preheat the oven to 180c (170c fan, gas mark 4)
Step 2
Put the softened butter and sugar in a large bowl and beat until soft. Add the eggs a little at a time, beating well between additions. You can add a small amount of flour with each egg to avoid splitting.
Ingredients for this step
- 275gBillington's unrefined dark muscovado
- 4Medium eggs
- 200gButter (softened)
Step 3
Mix the flour, baking powder and cocoa together. Gently fold in the flour mix into the butter and sugar until fully incorporated.
Ingredients for this step
- 200gAllinson's Self Raising Flour
- 1 tspBaking Powder
- 50gCocoa Powder
Step 4
Divide the mixture evenly between the tins. Level the surface using a spatula or the back of a spoon. Bake for 25–30 minutes. The tops of the cakes should spring back when pressed lightly with a finger. Leave the cakes to cool in the tins for 5 minutes. Run a small palette knife around the edge of the tins, then carefully turn the cakes out onto a wire rack. Peel off the paper and leave to cool completely.
Step 5
Choose the cake with the best top, then put the other cake top-down onto a serving plate.
Step 6
To make the buttercream, mix the cocoa powder with the boiling water to make a paste.
Ingredients for this step
- 25gCocoa Powder
- 3 tbspWater (boiling)
Step 7
Cream the butter to soften it then beat in the icing sugar using a food mixer or electric hand whisk. The longer that you beat it for the lighter and fluffier your buttercream will be. Stir in the cooled cocoa mixture.
Ingredients for this step
- 300gSilver Spoon Icing Sugar
- 175gButter (unsalted, softened)
Step 8
Spread a third of the chocolate buttercream on top of one sponge and place the other sponge on top to sandwich the buttercream in the center of the cake.
Step 9
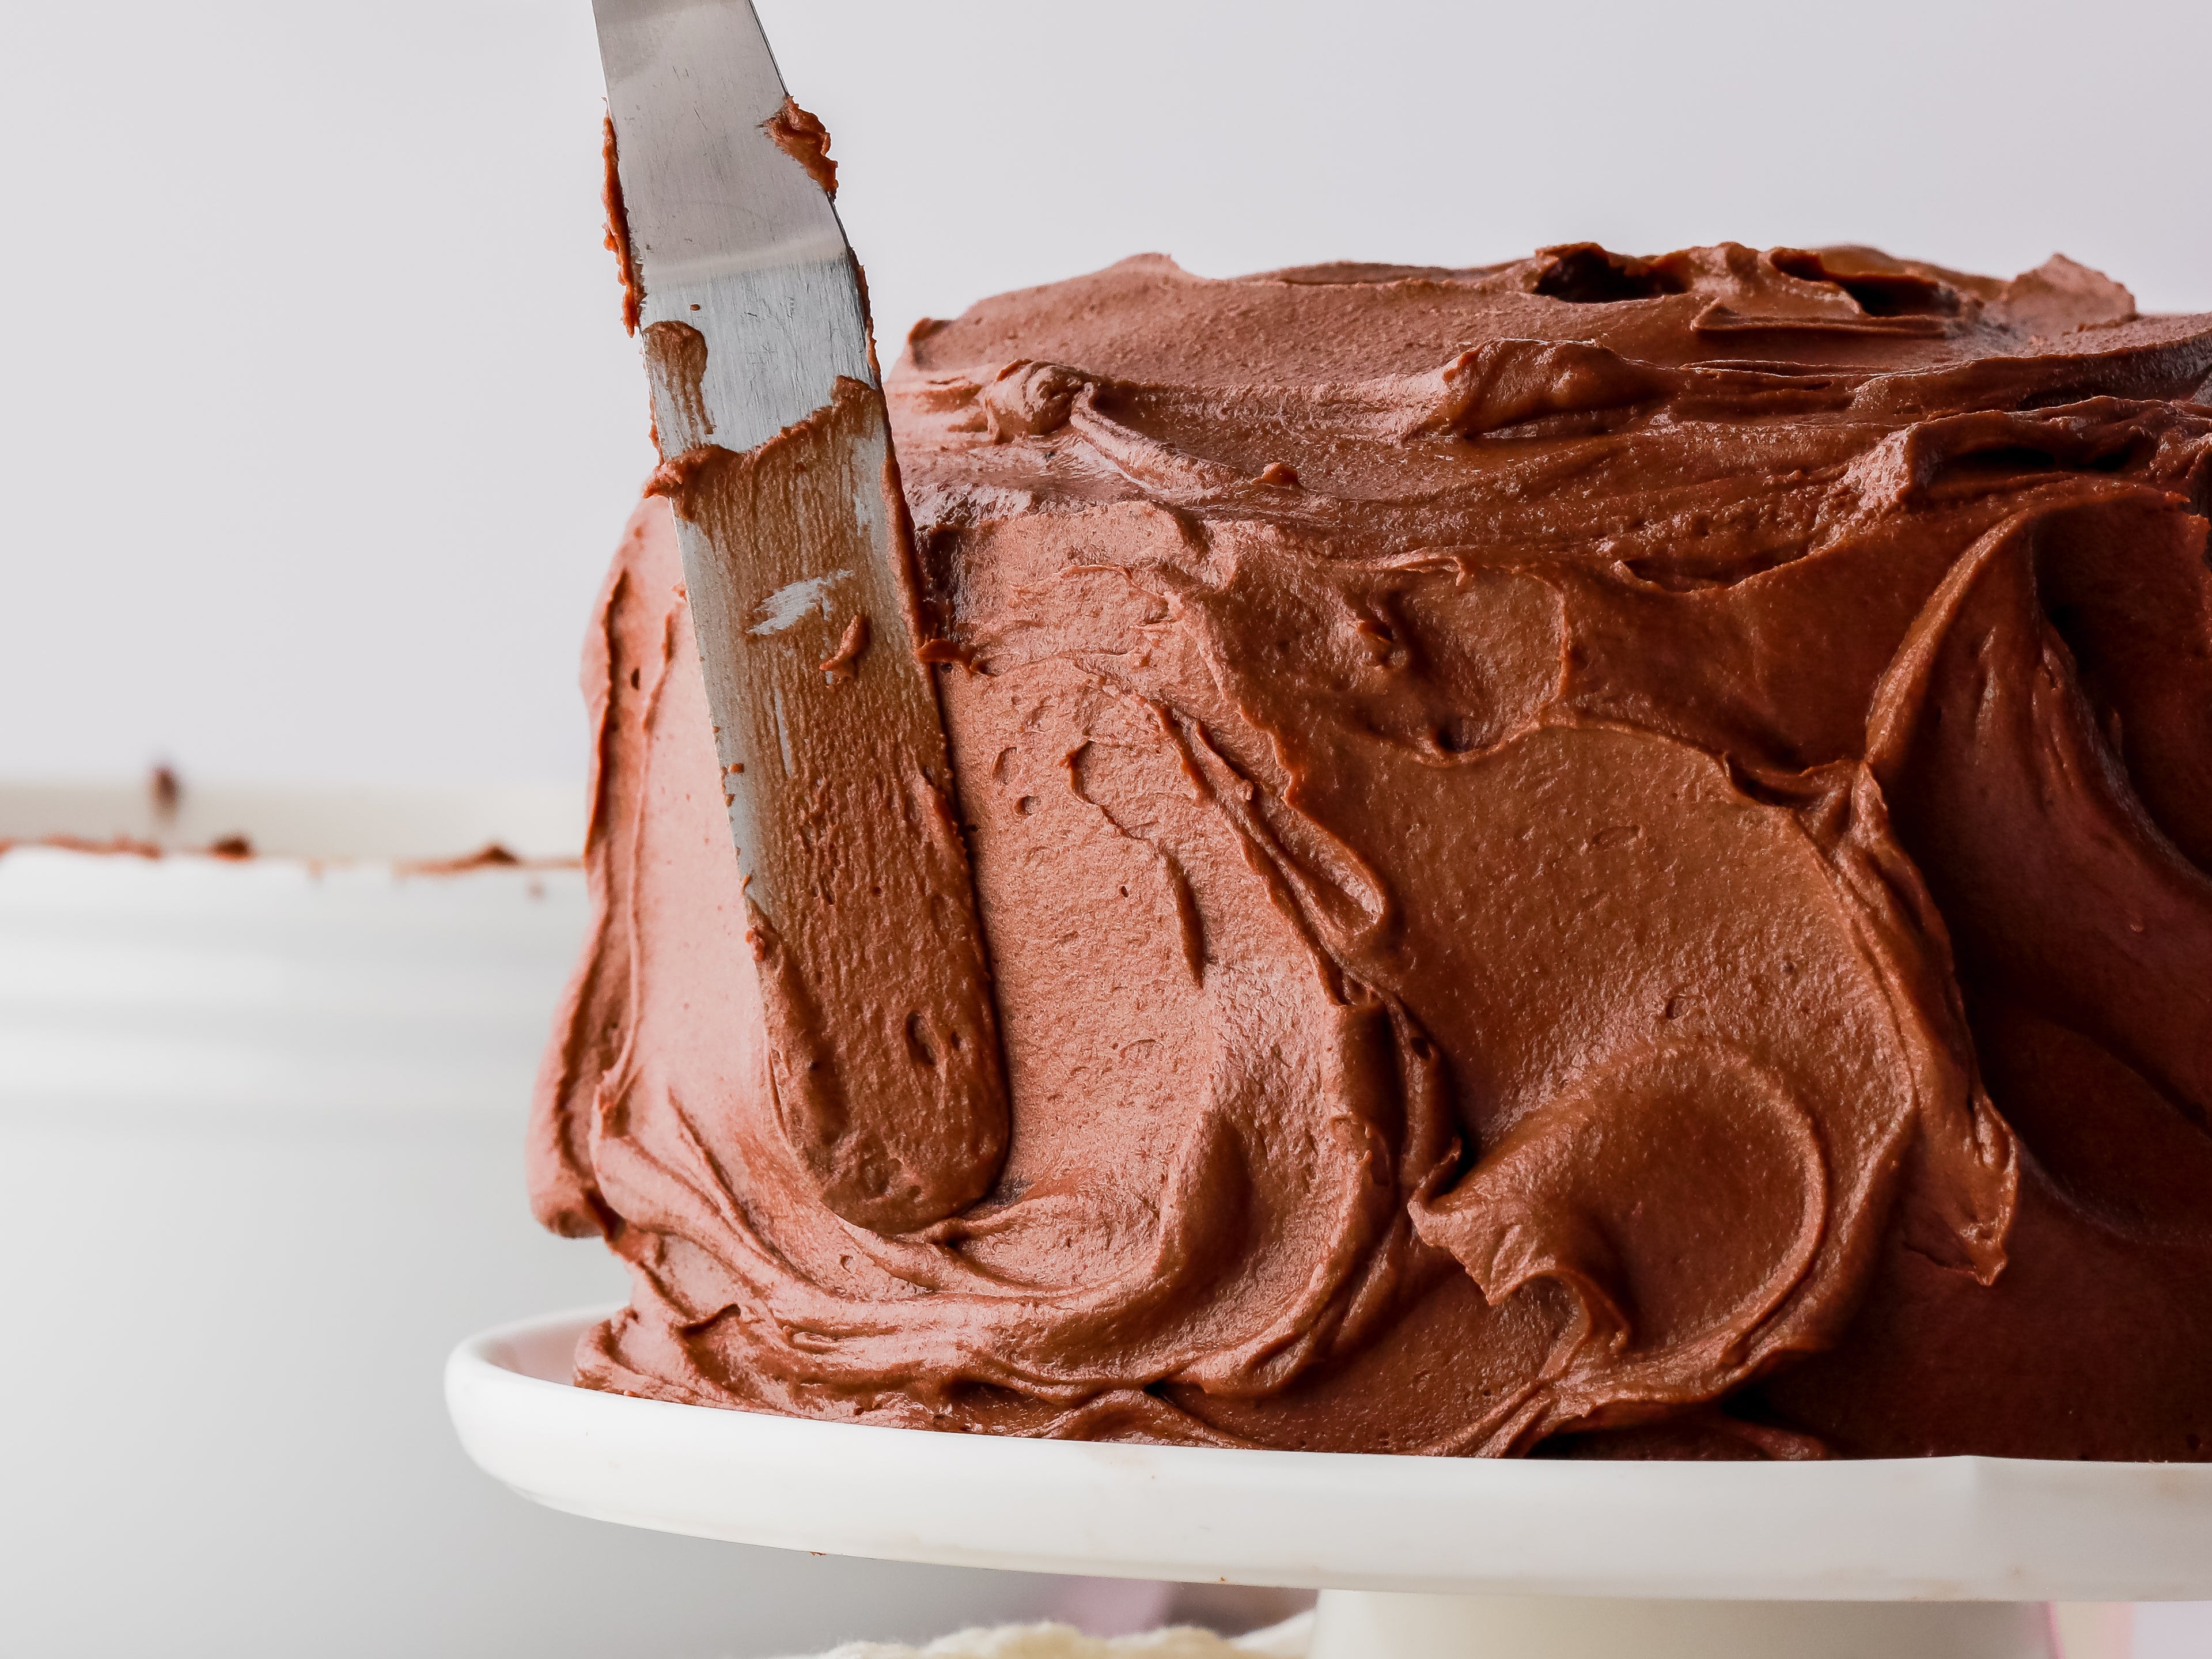
Spread the remaining chocolate buttercream over the top and sides of your cake. You can personalise your cake with decorations to your own taste and style.