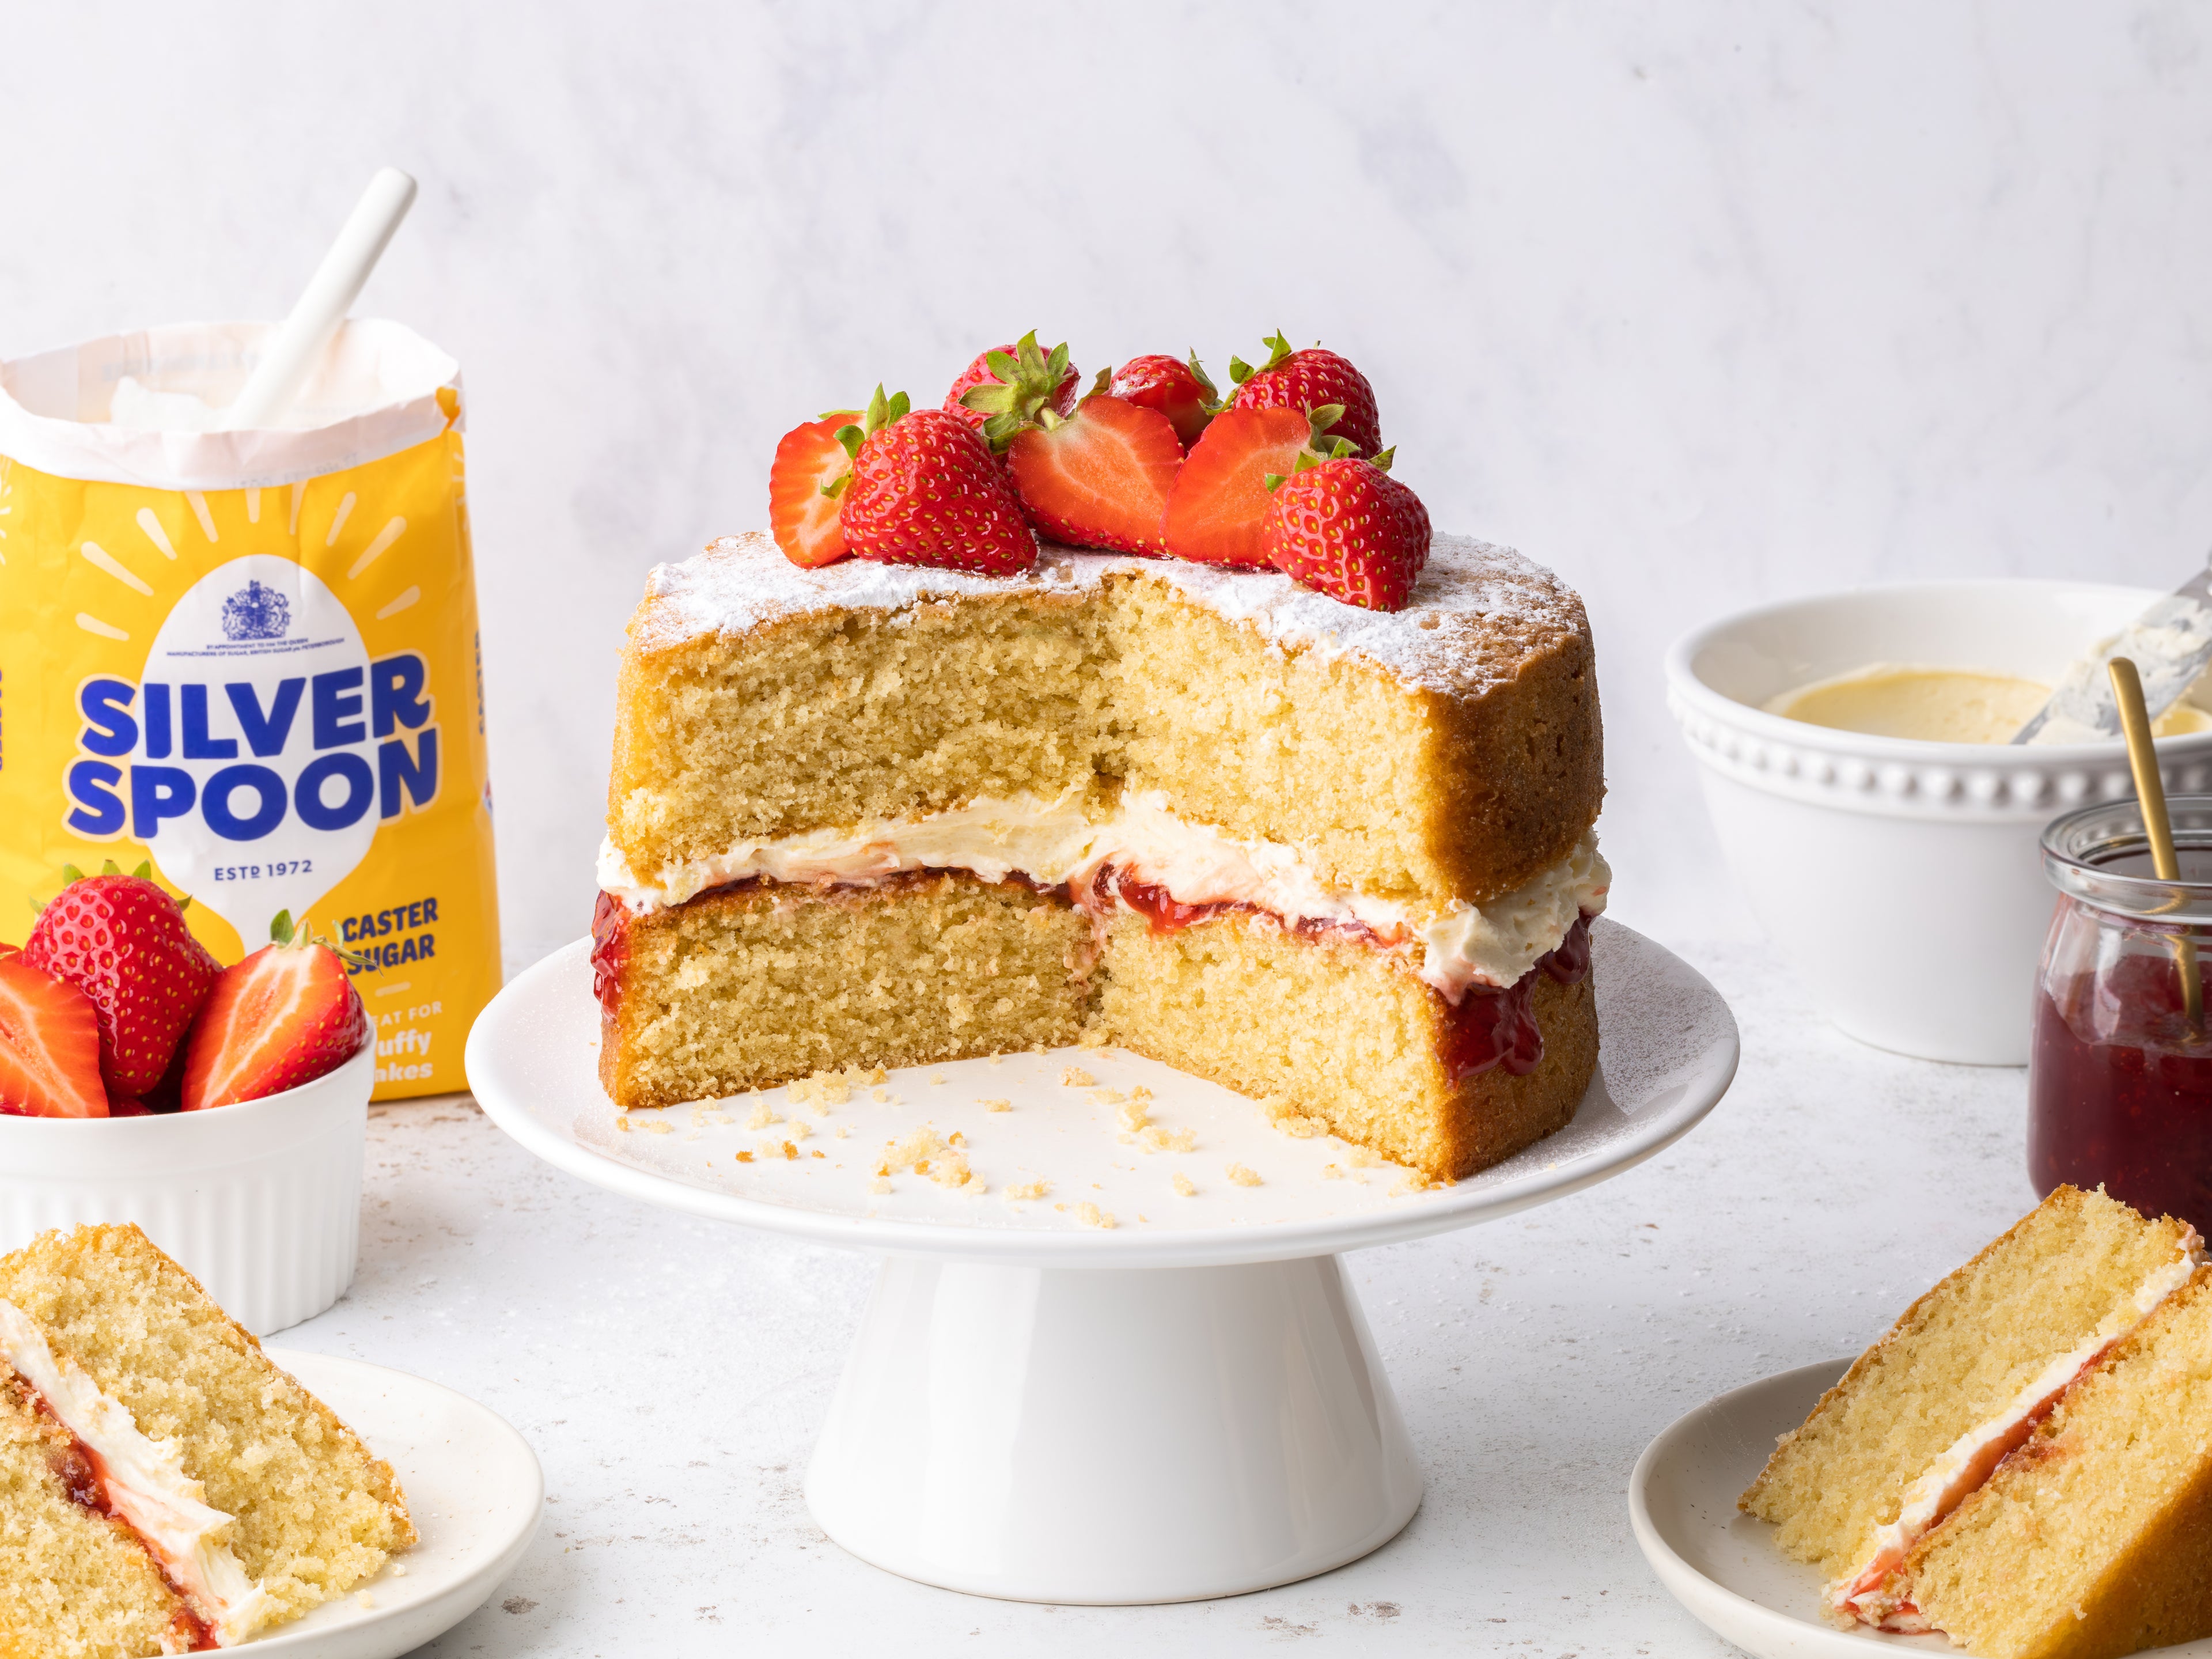
Whether Victoria sponge was the first cake you ever baked or it brings back sweet birthday memories, a truly great sponge cake recipe is one you’ll use time and time again. Make this the go-to Victoria sponge recipe for every baking occasion!
What's the secret to a classic Victoria sponge?
It all starts with the right ingredients, especially Silver Spoon caster sugar. Using caster sugar instead of granulated sugar makes all the difference in baking. Thanks to its finer crystals, it dissolves quickly, creating a smooth, airy cake batter that traps more air. The result? A lighter, fluffier sponge with the perfect texture.
Believe it or not, granulated sugar isn’t ideal for baking cakes. Its larger crystals take longer to dissolve, which can lead to a denser, slightly grainy cake, not what you want in a classic Victoria sponge! For the best bake, always choose caster sugar for a beautifully soft and airy texture.
How to create a fluffy light sponge:
For the best results, always use room temperature butter and eggs. Cold eggs straight from the fridge make it harder to beat air into your mixture, while chilled butter can lead to lumps. Let them sit out for a bit before baking - it makes all the difference.
Take your time when creaming butter and caster sugar together. Beat them until the mixture turns pale and fluffy - this step is key! The lighter the colour, the more air you’ve incorporated, which means a softer, lighter sponge. Don’t rush this part.
Sifting flour isn’t just about removing lumps - it also adds air, making the flour lighter and easier to blend into your batter. Some bakers even sieve theirs twice for an extra light texture. It’s a simple step that helps create a beautifully soft sponge.
What's the difference between Victoria sponge and other sponge cakes?
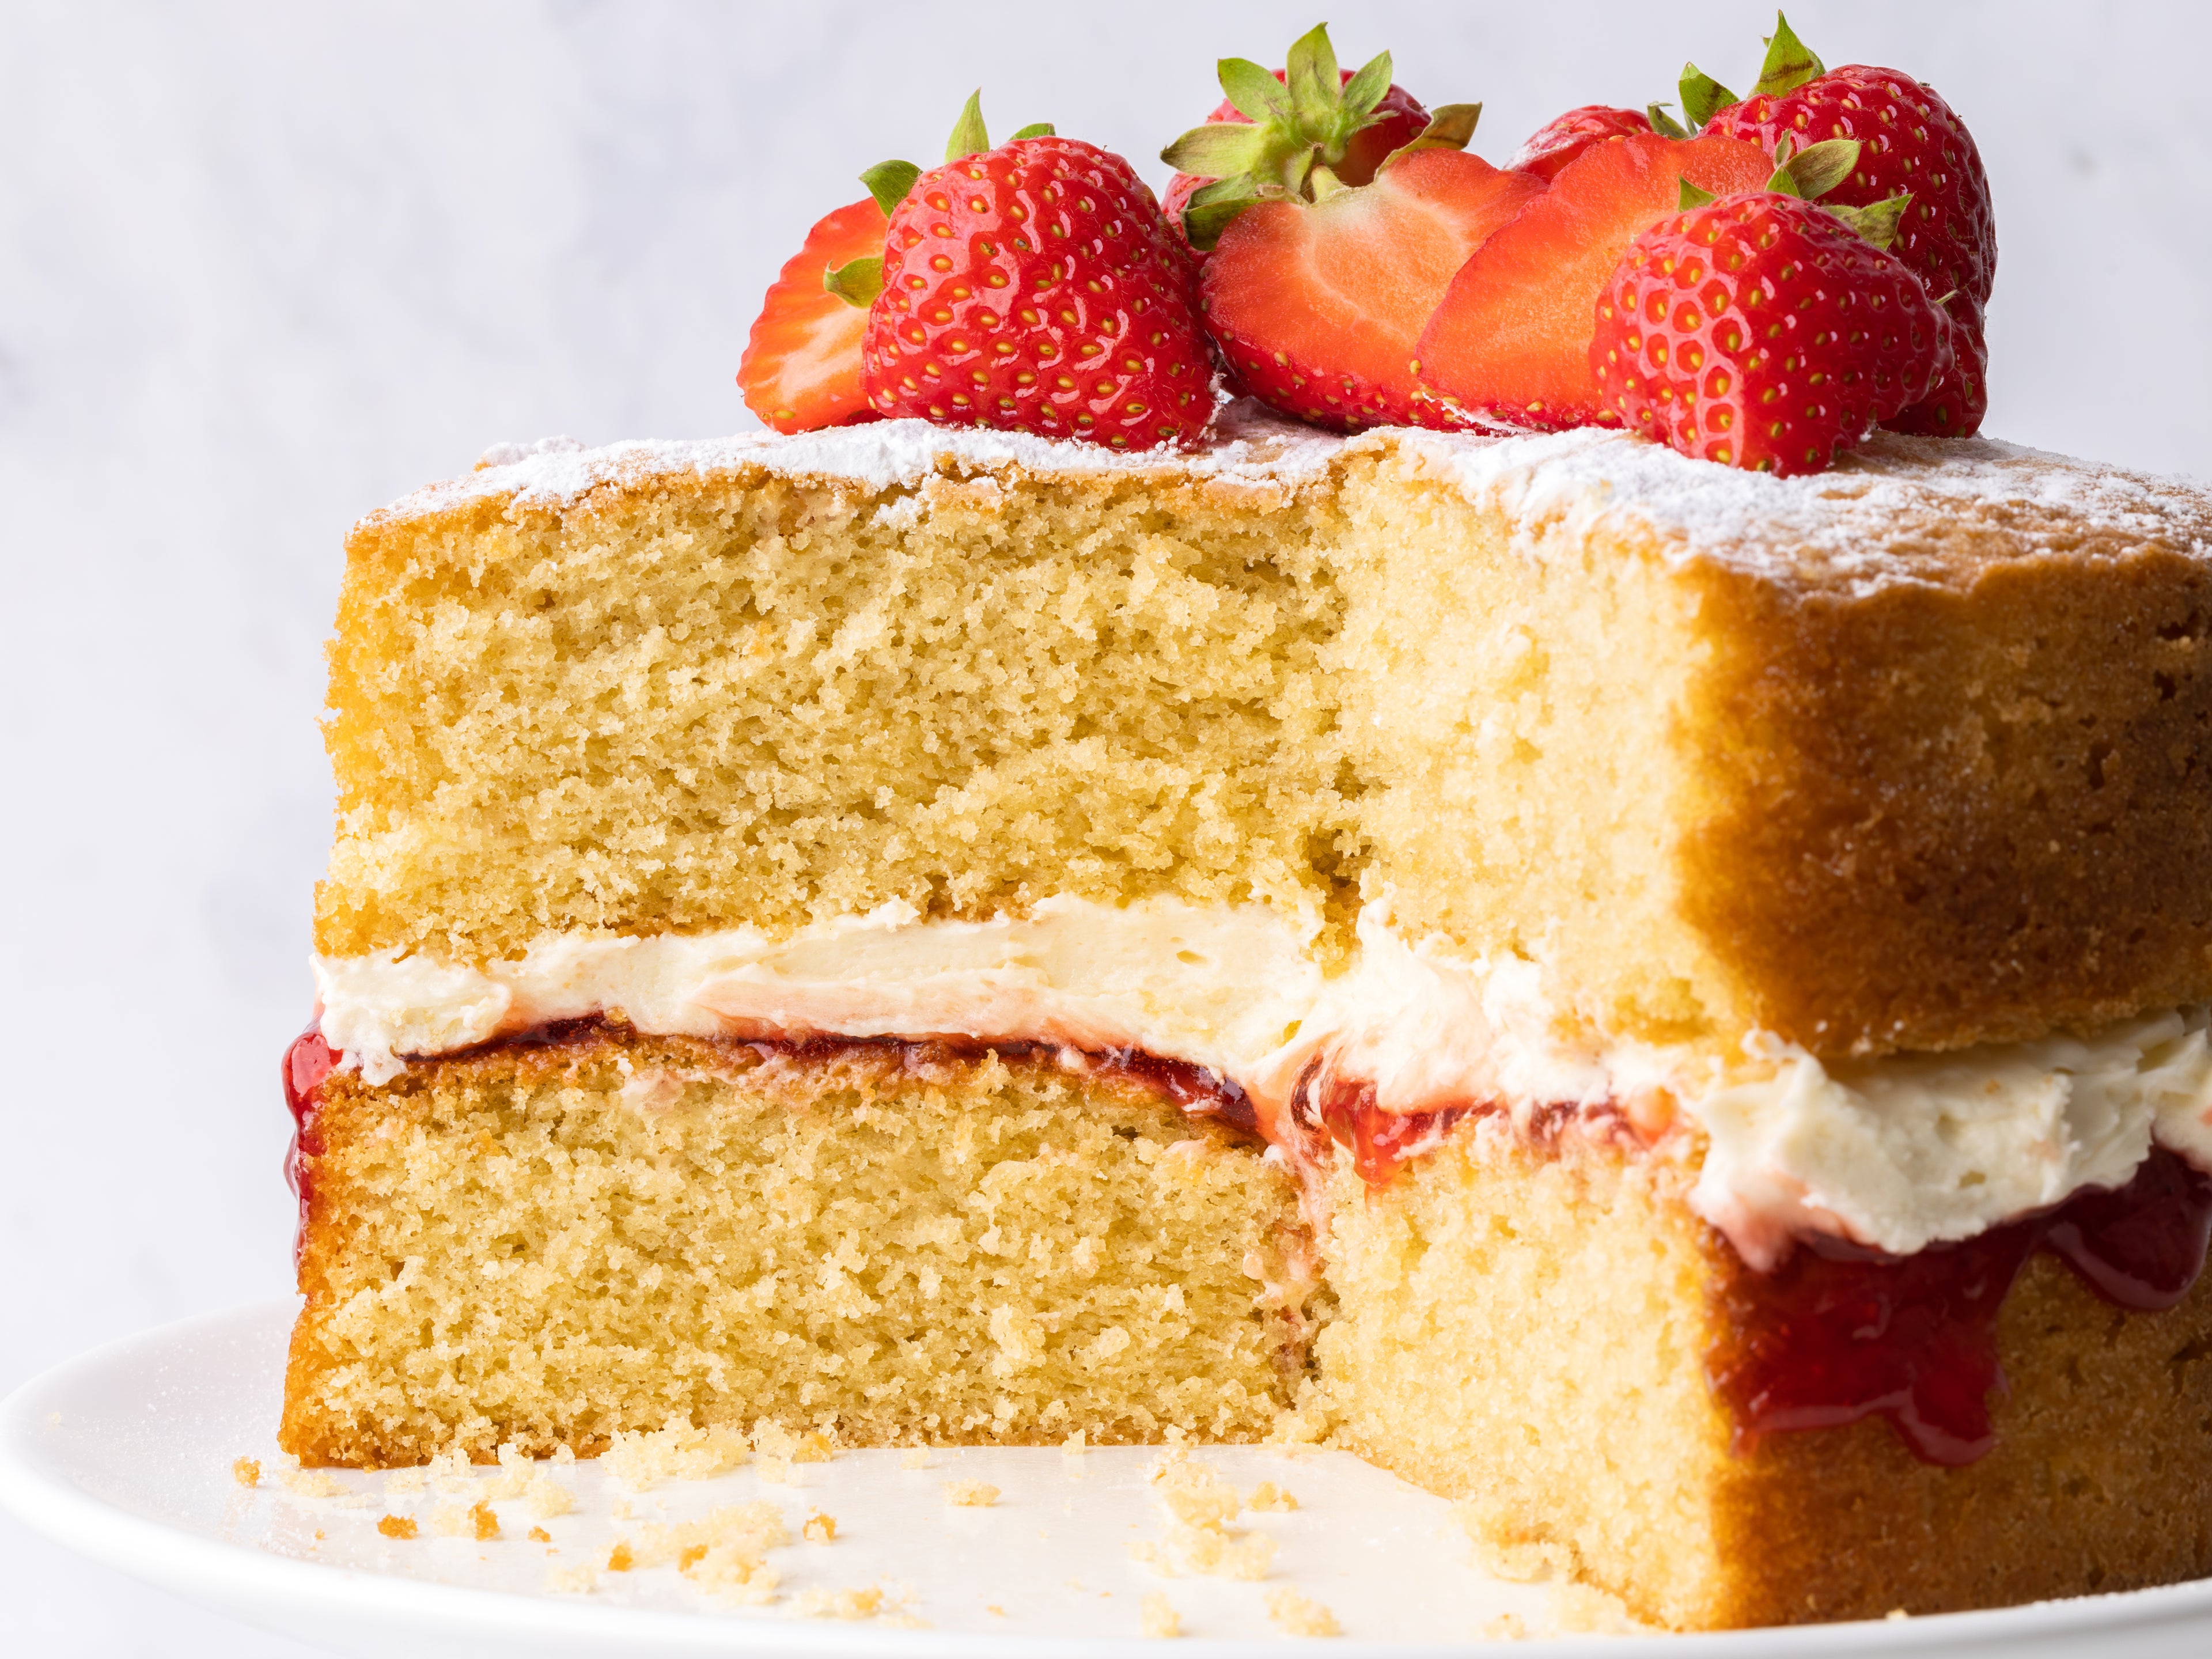
Victoria sponge cakes are usually made up of two sponge layers that sandwich together a filling of jam and buttercream and finished with a dusting of granulated or icing sugar.
Sponge cakes follow a similar recipe but can be adapted to use for different bakes and desserts. For example, they can be used as trifle bases, fairy cakes or butterfly cakes.
How to keep a Victoria sponge moist in the oven?
No one wants a dry sponge, so to keep your Victoria sponge moist while baking, we recommend placing a cake tin or roasting tin filled with water at the bottom of the oven as it heats up. The steam for the water helps maintain an even temperature, keeping your cake crisp on the outside and soft inside. Another quick trick? Try lightly spraying water on the sides and base of your oven before baking to add extra moisture.
How do I store a Victoria Sponge?
For the freshest cake, store your Victoria sponge in an airtight container or cake tin at room temperature. Wondering how long a Victoria sponge lasts? We’d say its best up to three days (if you can resist that long!) If your sponge is filled with fresh cream, pop it in the fridge to keep it at its best.
Can I freeze a Victoria Sponge?
Absolutely! Freezing your Victoria sponge cake is a great way to bake ahead for special occasions. To freeze, make sure your sponges are fully cooled, then double-wrap in cling film and foil. If stacking sponges, separate them with parchment paper. Don’t forget to label them with the date and cake type! When ready to use, thaw in the fridge for 8 hours while still wrapped to prevent condensation.
16 ingredients9 steps
Vegetarian
For a fantastically fluffy Victoria Sponge
Ingredients
MetricImperial
For the Cake
225gUnsalted butter (softened)
225gSilver Spoon Caster Sugar
4Free range large eggs (At room temperature)
1 tspNielsen-Massey Vanilla Extract
1 tbspWhole milk
225gAllinson's Self-Raising White Flour
1 tspBaking Powder
For the buttercream filling
175gSilver Spoon Icing Sugar
75gUnsalted softened butter
1 tspNielsen-Massey Vanilla Extract
For an alternative buttercream
200gSilver Spoon Vanilla Flavour Icing Sugar
100gUnsalted butter (softened)
1/2 tbspMilk
For the decoration
2 tspSilver Spoon Icing Sugar
3 tbspStrawberry jam
10Strawberries
Utensils
2x 8in/20cm round cake tins
Roasting tin (optional)
Baking parchment
Sieve
Metal spoon
Cooling rack
Skewer
Bread knife
Mixing bowl
Freestanding mixer or electric hand whisk
Knife
Spatula
Wooden spoon
Nutritional information per 106g serving
Energy 410cal
Fat 26g
of which Saturates 15g
Carbohydrates 38g
of which Sugars 24g
Protein 5g
Salt 0.27g
Method
Step 1
Set your oven to 180°C (160°C for fan ovens, or gas mark 5).
Lightly grease two 8"/20cm circular sandwich tins. Use melted butter and a pastry brush, or rub a knob of softened butter around the inside edges and base of each tin. Cut two circles of baking parchment to fit the base of each tin. Place the parchment at the bottom of the tins to prevent the cakes from sticking.
Tip: While the oven heats up, place a roasting tin filled with water in the base of the oven. This will help keep the cake moist while it bakes.
Step 2
In a mixing bowl, add the softened, room temperature butter and caster sugar. Using a wooden spoon, electric hand whisk, or a food mixer, beat them together until they are well combined and form a pale, fluffy mixture.
Tip: The longer you beat the butter and sugar, the paler and fluffier the mixture becomes. This step may take a few minutes, but it helps create a lighter and airier cake
Ingredients for this step
200gUnsalted butter (softened)
200gSilver Spoon White Caster Sugar
Step 3
Gradually add the room temperature eggs one at a time. After adding each egg, beat the mixture well to ensure its fully incorporated before adding the next egg. Pour in the vanilla extract and milk and mix to combine.
Ingredients for this step
4Free range medium eggs
200gAllinson's Self-Raising White Flour
2 tbspWhole milk
1 tspNielsen-Massey Vanilla Extract
Step 4
Sift the flour and baking powder into the wet mixture. Using a spoon, gently fold the dry ingredients in until it is just combined, and no dry flour is visible. Avoid overmixing! This process helps create a smooth, airy batter for your recipe.
Ingredients for this step
200gSelf-raising flour
2 tspBaking Powder
Step 5
Evenly divide the prepared sponge mixture between the two greased and lined sandwich tins (you can weigh the mixture in the tins if you want to be precise). Use a spatula or spoon to gently spread the batter out. Place the tins on the middle shelf of your preheated oven and bake for around 20 minutes, or until a skewer inserted into the centre comes out clean.
Step 6
Once baked, remove the tins from the oven and let the sponges rest for a few minutes in the tins then transfer to a wire rack to cool completely.
Step 7
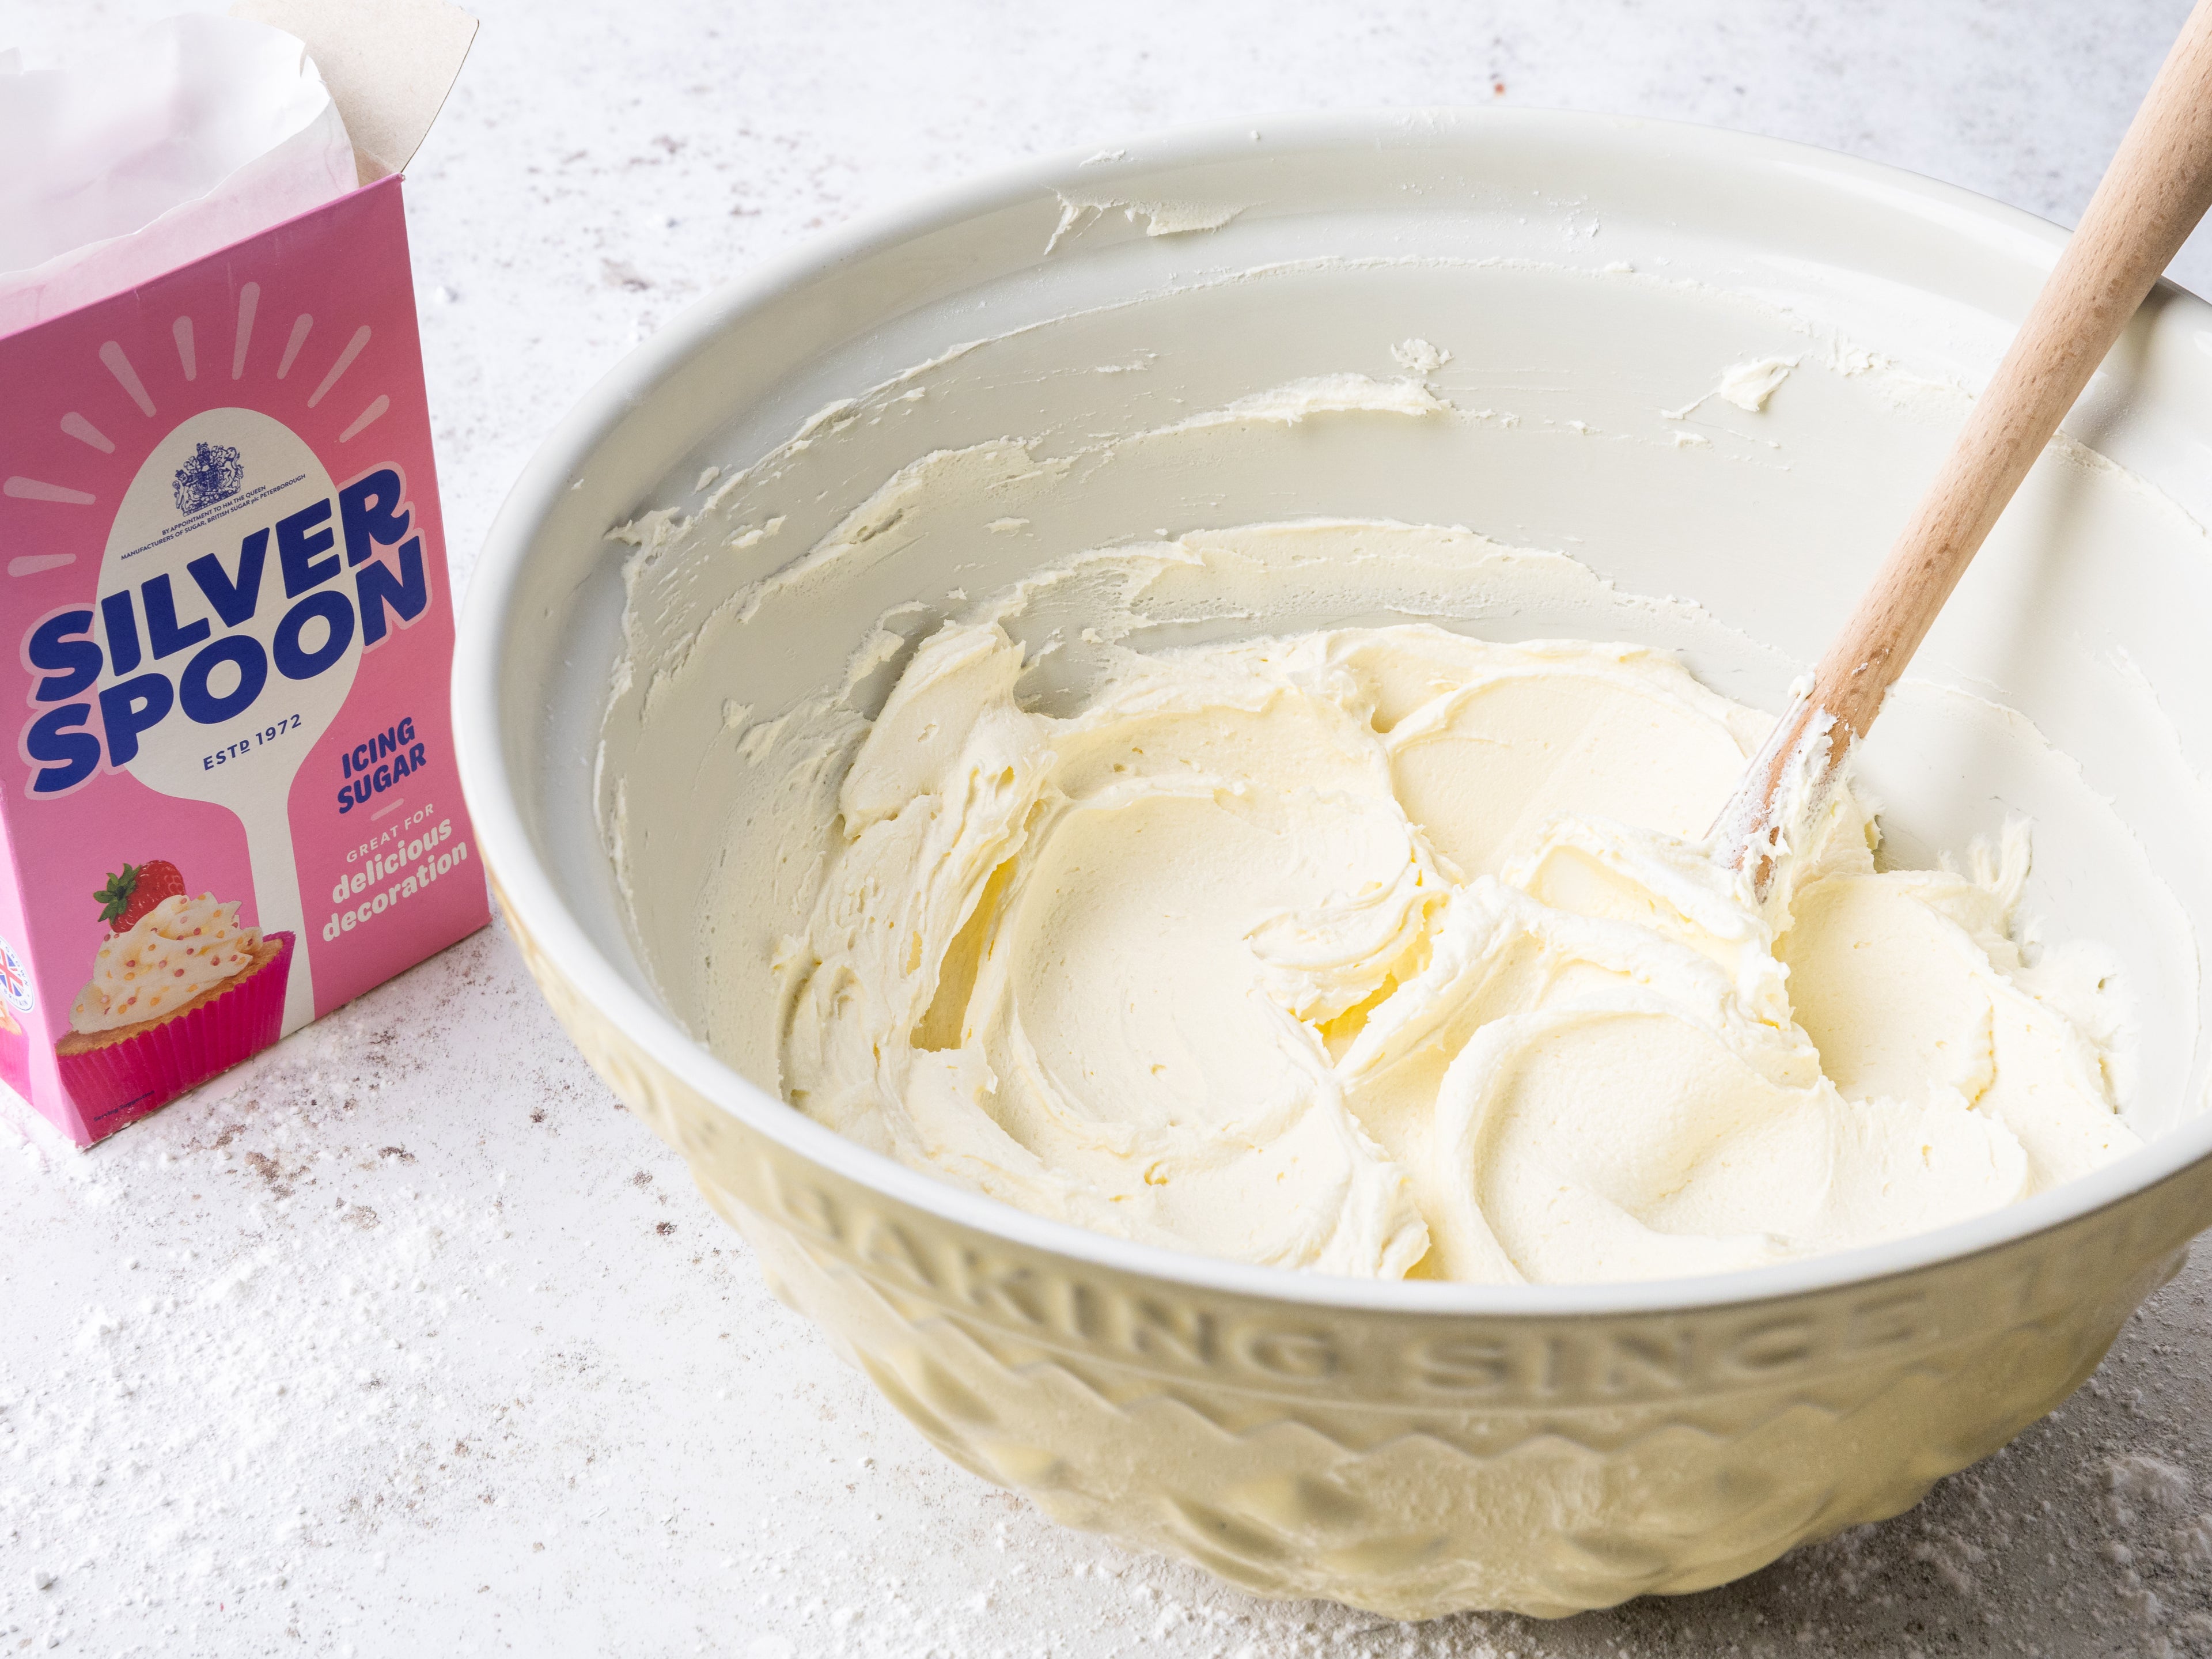
To make the buttercream: In a mixing bowl, beat together the softened butter and sieved icing sugar until smooth and creamy. Add the vanilla extract, and if the buttercream is too thick, add a splash of milk to adjust the consistency.
If you are using Silver Spoon vanilla flavour icing sugar to make your buttercream, beat the 100g softened butter until light and fluffy then add the vanilla flavour icing sugar. For a creamier texture add 1/2 tbsp of milk.
Ingredients for this step
75gSoftened butter
175gSilver Spoon Icing Sugar
1 tspNielsen-Massey Vanilla Extract
Step 8
Place one of the cooled sponges on a serving plate. If the top of the cake is domed, use a bread knife to gently slice off the raised ‘bump’. Move the knife horizontally with slow, smooth cutting motions to create a flat, even surface. Once the sponge is even, spread the jam over and top with the buttercream. Sandwich the cakes together.
Step 9
Finish by dusting the cake with icing sugar. For a decorative touch, you can add some fresh strawberries on top. Now your cake is ready to serve!
If you prefer try filling with whipped cream, or a combination of jam and strawberries.
Ingredients for this step
30gSilver spoon icing sugar (to dust)
10Strawberries
218 Baker Ratings
Love this?
1 baker loved this!
I don't what I am doing wrong but each time I make a sponge the butter curdles. I had to add another 15 minutes to the cooking time to in my fab oven. Any advice?
Baking Mad
Hey! It's hard to say without actually seeing your batter, but in our experience it sounds like your butter’s curdling because the eggs might be a bit too cold, or you're adding them too fast. Try bringing everything to room temp first and add the eggs in slowly, then give it a gentle mix and it should stay nice and smooth!